



The next LEGO® F1 build is complete, yet there’s nowhere left to put it. You shuffle older models toward shelf edges, rotate others sideways to squeeze them in, and set your newly finished race car right next to your keyboard. For many LEGO collectors, this familiar cycle continues: your collection grows one build at a time, always borrowing small patches of desk or shelf space.
A wall-mounted display is a practical way to stop the clutter from spreading. By grouping compatible F1 models into a dedicated wall display area, you free up your original shelf or desktop surface and put that recovered space back to good use.
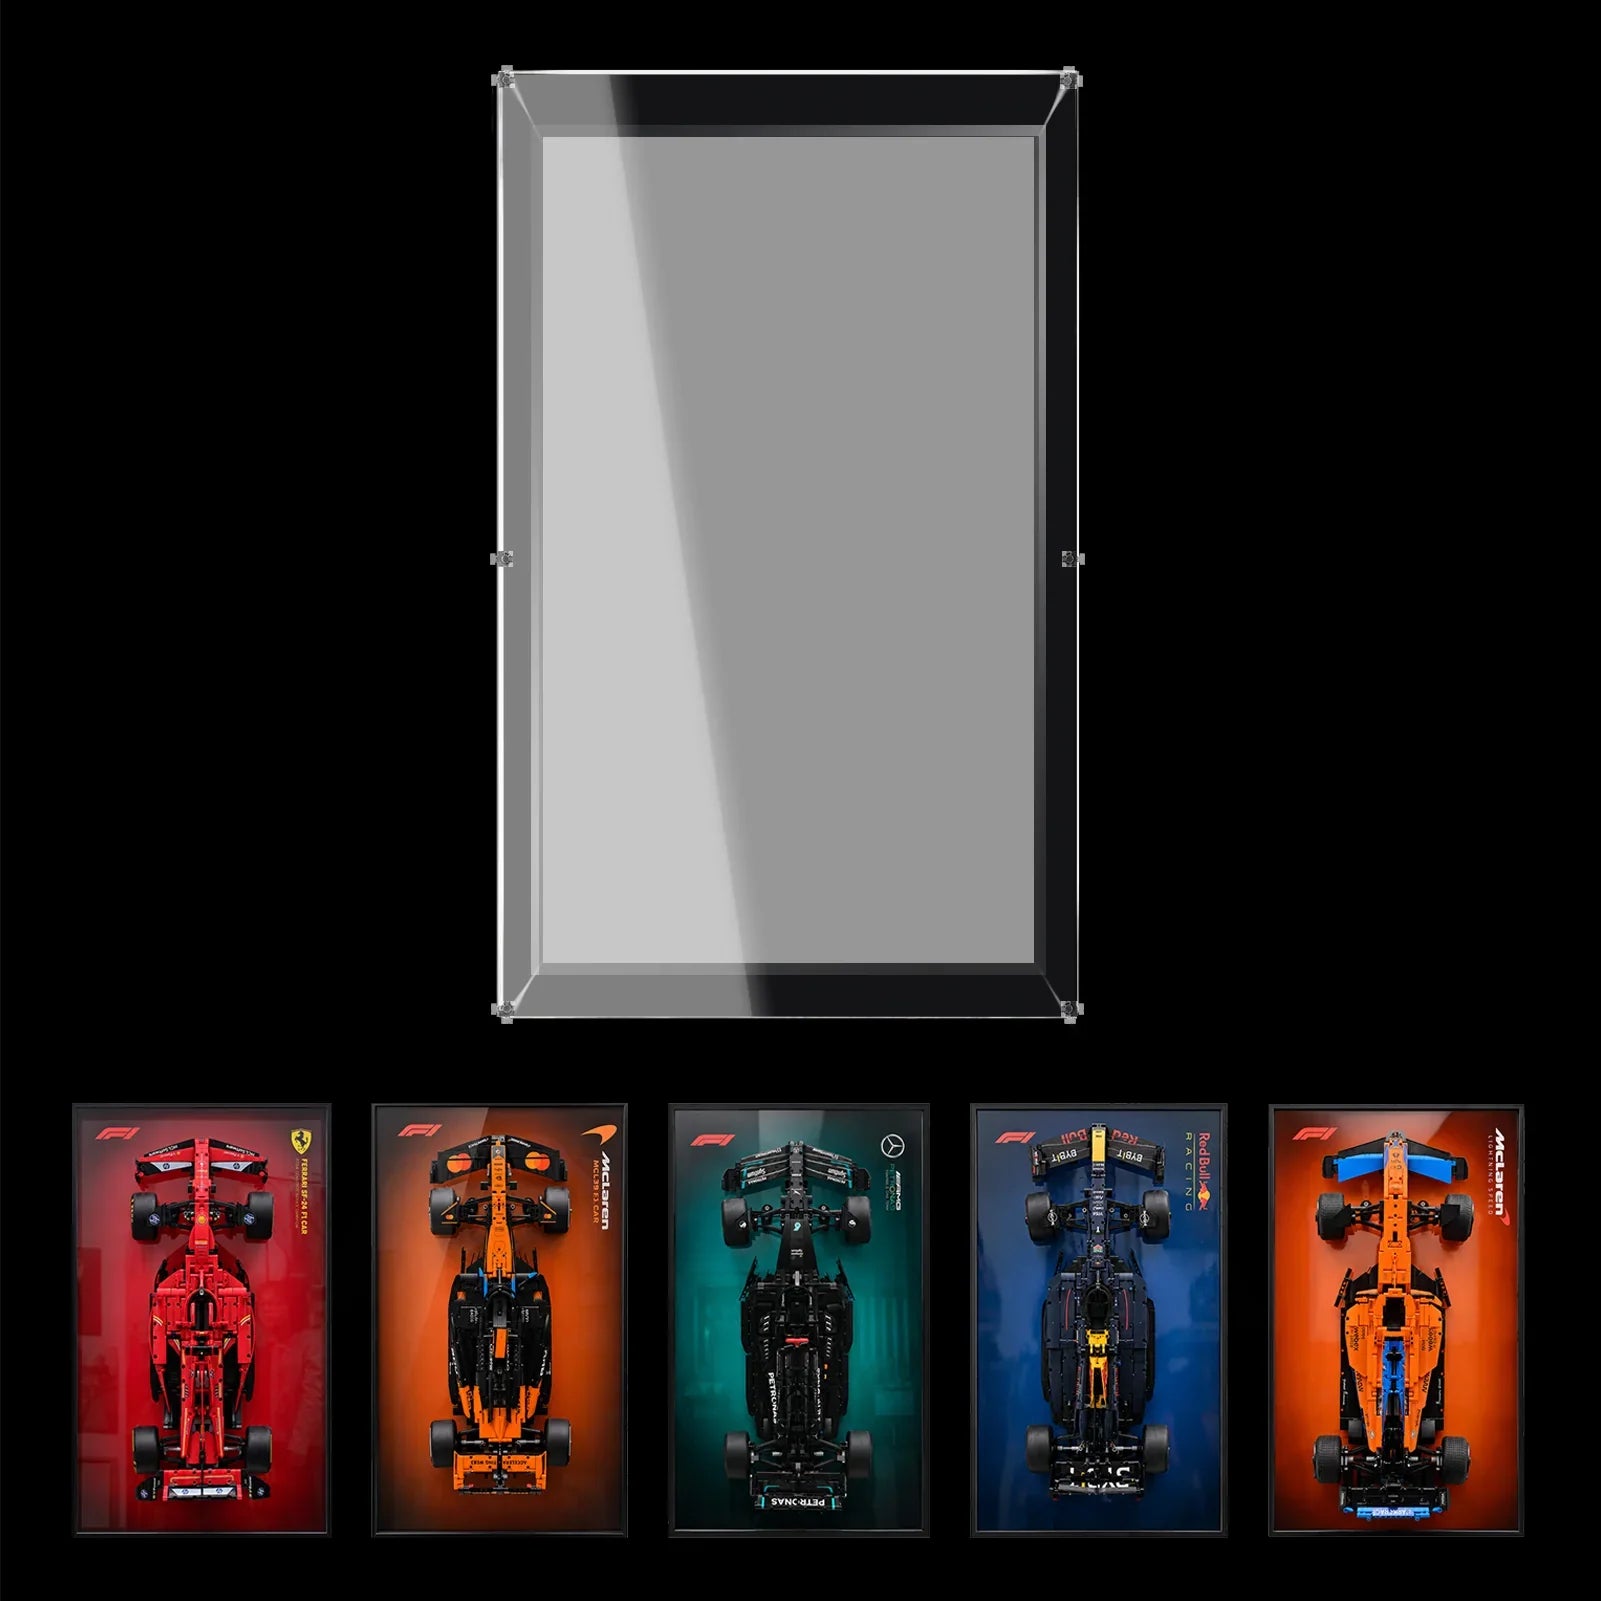
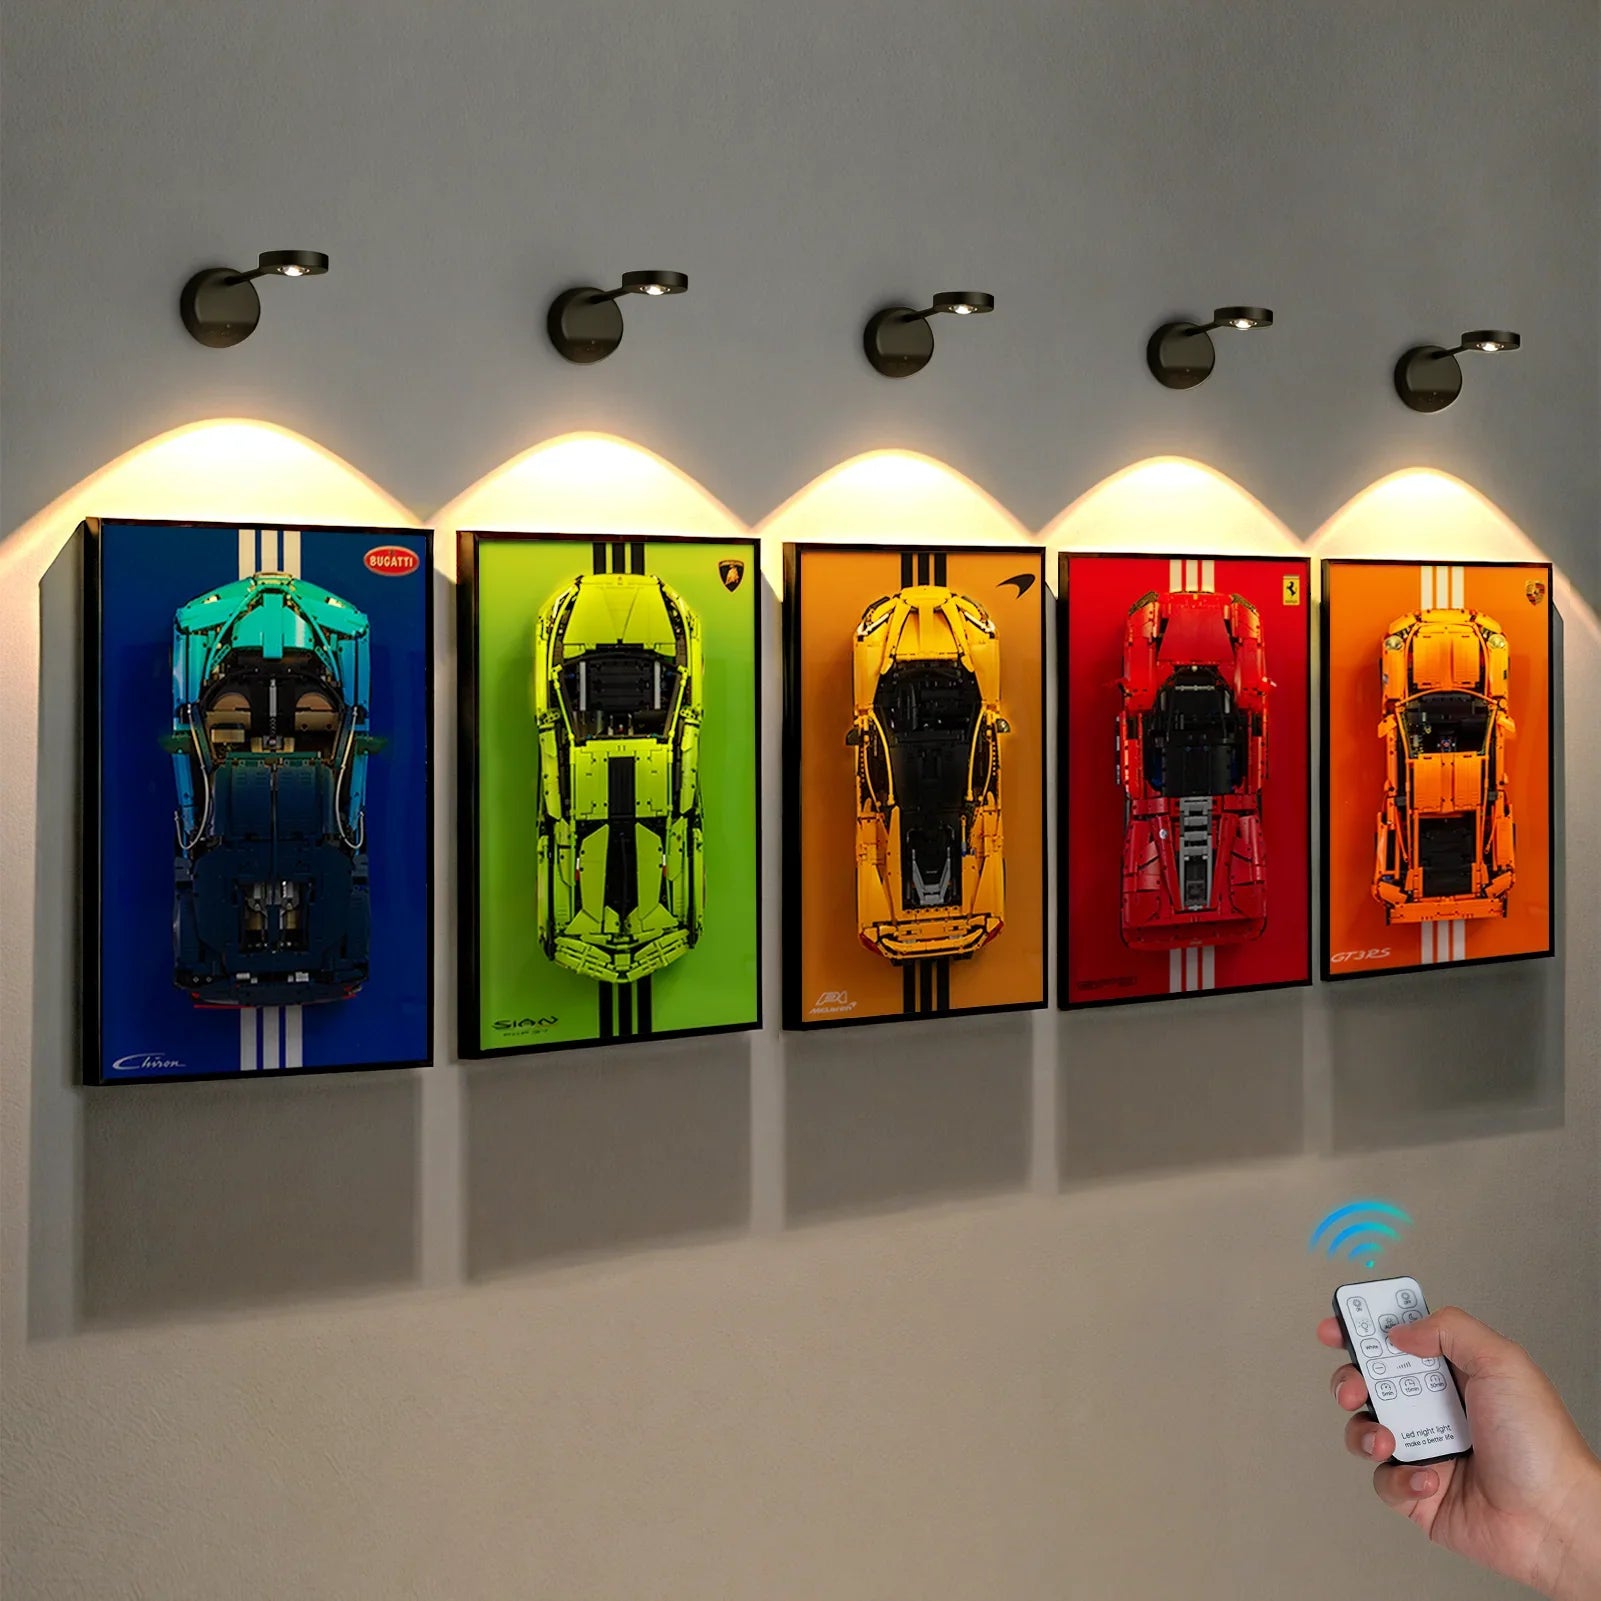
It is worth noting that this WETCEAOM F1 starting grid wall display includes a clear acrylic cover. It delivers an open-grid racing look while protecting your LEGO®Speed Champions cars from dust.
But successful wall display setup starts long before you drill any holes. You need to answer three core questions first: Which models will move to the wall? Where exactly will the display live? And what usable space will this project actually give back to you?

Choose the Shelf or Desk Space You Want to Reclaim
Start by identifying the surface most disrupted by your growing LEGO collection. Maybe your F1 race cars fill the front of your bookcase, forcing you to shift models out of the way every time you grab a book. Or your models line the edge of your monitor stand, and every new build shrinks your available workspace.
Pick one clear goal for your project. It might be restoring easy access to your books, clearing a clean workspace beside your keyboard, or freeing shelf room for a larger upcoming LEGO build.
Once you set that goal, gather all the F1 models currently occupying that target surface. This creates a defined group of models ready to relocate. Moving one or two cars from several different crowded shelves often only creates tiny, useless gaps, without opening up one fully usable area.
As an example: imagine eight Speed Champions F1 cars split between your desk and bookcase. If six of them block your books while two sit neatly out of the way on a desk corner, relocating those six together solves your biggest clutter pain point. This is a planning example only; results and recovered space will vary depending on each collector’s setup.
Build Your Plan Around the LEGO Cars You Actually Own

Before selecting any wall frame for your collection, write down the set numbers for every F1 model you plan to hang. Cross-reference those set numbers with the display’s official compatibility information.
“F1” describes the racing theme, not a uniform model size. A frame built for Speed Champions scale will not automatically fit larger Technic race cars, heavily modified custom builds, or unreleased future LEGO sets.
It is also important to separate total capacity from model compatibility. A display listed with 12 slots tells you the maximum number of models it is designed to hold. It does not guarantee any random 12 F1 sets will fit inside.
If your collection is smaller than the available slots, think about how empty positions will look. Many themed displays include team-specific background artwork, meaning blank slots may still visually reference a specific Formula 1 team. Review the background layout before placing your order, rather than assuming every slot works for any car.
This simple inventory check avoids a frustrating mistake: purchasing a wall display, only to realise the models you most wanted to move cannot fit inside.
One ready-made solution for Speed Champions collectors is the WETCEAOM Ultimate F1 Starting Grid wall display. It features an aluminum-alloy frame measuring 110 × 40 cm (43.3 × 15.7 in), built to hold up to 12 Speed Champions F1 race models. Use these dimensions as your starting planning reference.
Mark Out Your Wall Area Before Ordering a Display Frame
Once you have confirmed a compatible group of models, test the footprint of your display frame directly on your wall.

Grab low-tack painter’s masking tape or paper templates to mark a rectangle matching those measurements on your wall. This outline represents the frame’s listed dimensions, but it does not account for the forward projection of mounted LEGO models or extra clearance needed around doors, furniture, and monitors.
View your marked rectangle from your regular positions around the room. Sit at your desk, stand near your bookcase, and walk past through nearby doorways. Can you view the entire display comfortably? Will your monitor block the bottom edge? Does a swinging door enter the area where your mounted models will sit?
For a simple illustration: centering a 110 cm frame on a 150 cm wide clear wall section leaves 20 cm empty space on each side. This calculation only describes leftover horizontal width. It is not a mandatory installation clearance requirement, nor a guarantee the wall location will work for your setup.
Keep Your Lineup Viewable From Your Usual Viewing Position
Even when a wall has enough physical space for the frame, it may not be an enjoyable spot to admire your small LEGO race cars.
Evaluate your proposed wall location from your normal viewing distance. If you mount the display high above a tall cabinet or across a large room, the fine details on each individual car become harder to appreciate. Moving your collection off your desk should not mean hiding it away; the wall should still be somewhere you want to look at your builds.
A single unified frame creates a neat, defined boundary for your whole collection. Instead of hunting for separate wall spots for each race car, you decide the overall display location first, then arrange your lineup inside the grid.
The WETCEAOM design uses team-themed background panels across all 12 positions in the grid. Compare this background arrangement against your own collection lineup. Always follow the official mounting instructions supplied with the frame and models. Double-check exact set compatibility, assembled depth, and wall fixing requirements before starting installation.
Put Your Newly Cleared Shelf Space to Work Immediately
Once your compatible LEGO F1 models are securely mounted on the wall, return to the shelf or desk surface they previously occupied.
Restore your books so you can reach them easily again. Reclaim your keyboard workspace. If your goal was to create space for a bigger build, arrange your large model with enough room to access and enjoy it.
This final step turns your wall display project from a simple decoration into a functional upgrade. If your newly emptied shelf just becomes the next temporary parking spot for new builds, your original clutter problem will quickly return.
Take before-and-after photos from the same viewpoint when moving your models. You can easily see the practical improvements: accessible books, an unobstructed desk, or usable shelf space. You don’t need complex measurements or percentages to judge whether your project succeeded.
A great LEGO wall display project always has two clear goals: a dedicated home for your race car collection, and a defined purpose for the space those models leave behind.
FAQ
Can Technic LEGO F1 race cars fit this starting grid wall frame?No. This frame is engineered for Speed Champions scale only. Larger Technic F1 models have different dimensions and will not fit the pre-set slots.
Does this open wall frame protect LEGO cars from dust?
This WETCEAOM F1 starting grid wall display comes with a clear acrylic cover to shield your LEGO cars from dust. It keeps your Speed Champions F1 lineup fully visible while cutting down regular cleaning work.
Do I need professional help to mount the F1 wall display frame?
The frame comes with standard mounting hardware. As long as you follow the included instructions and confirm your wall type can support the load, most collectors can install it by themselves.

