
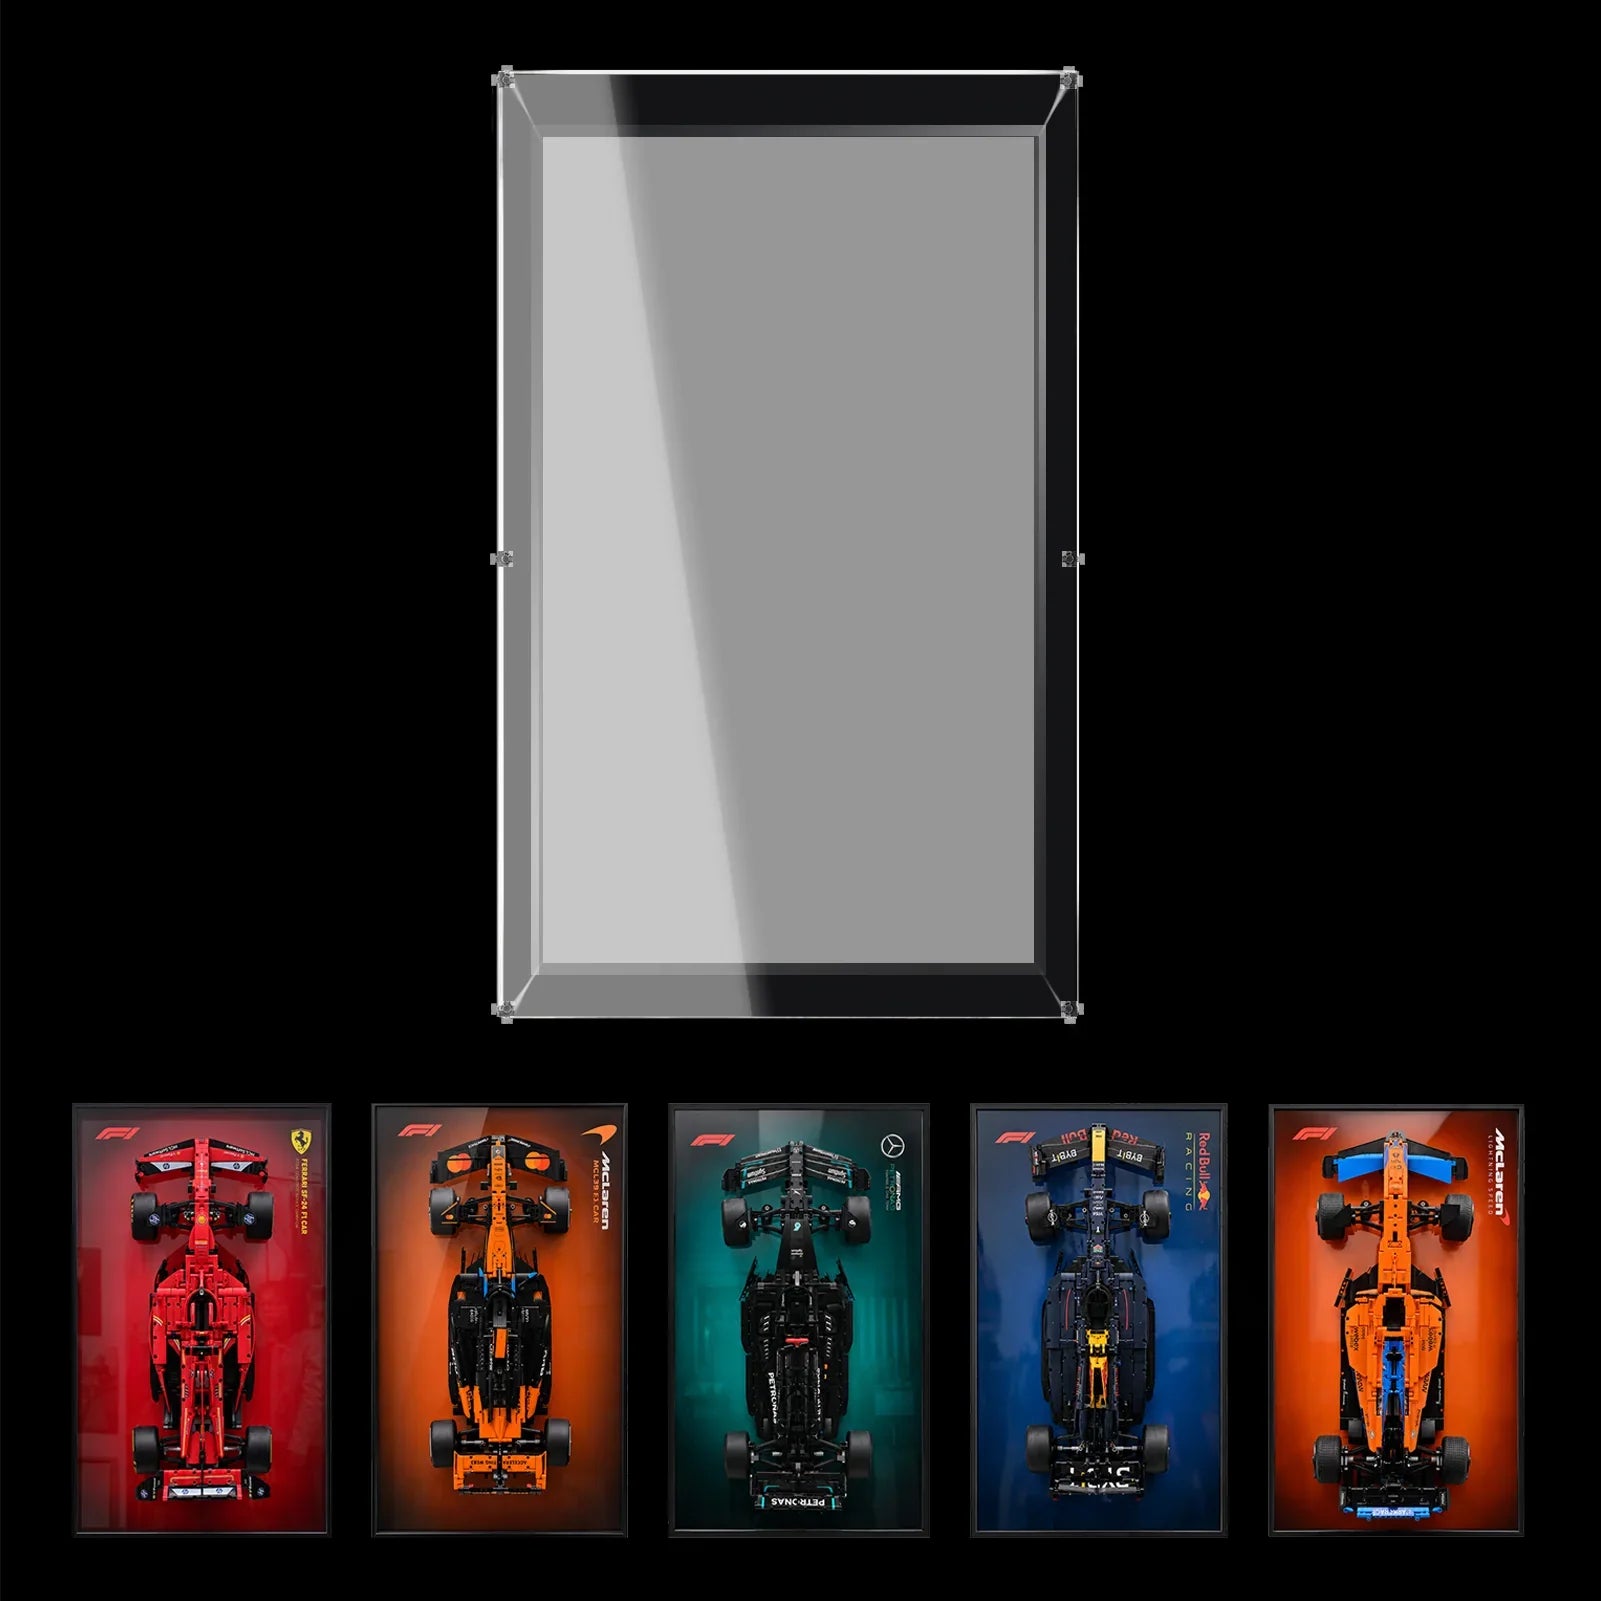

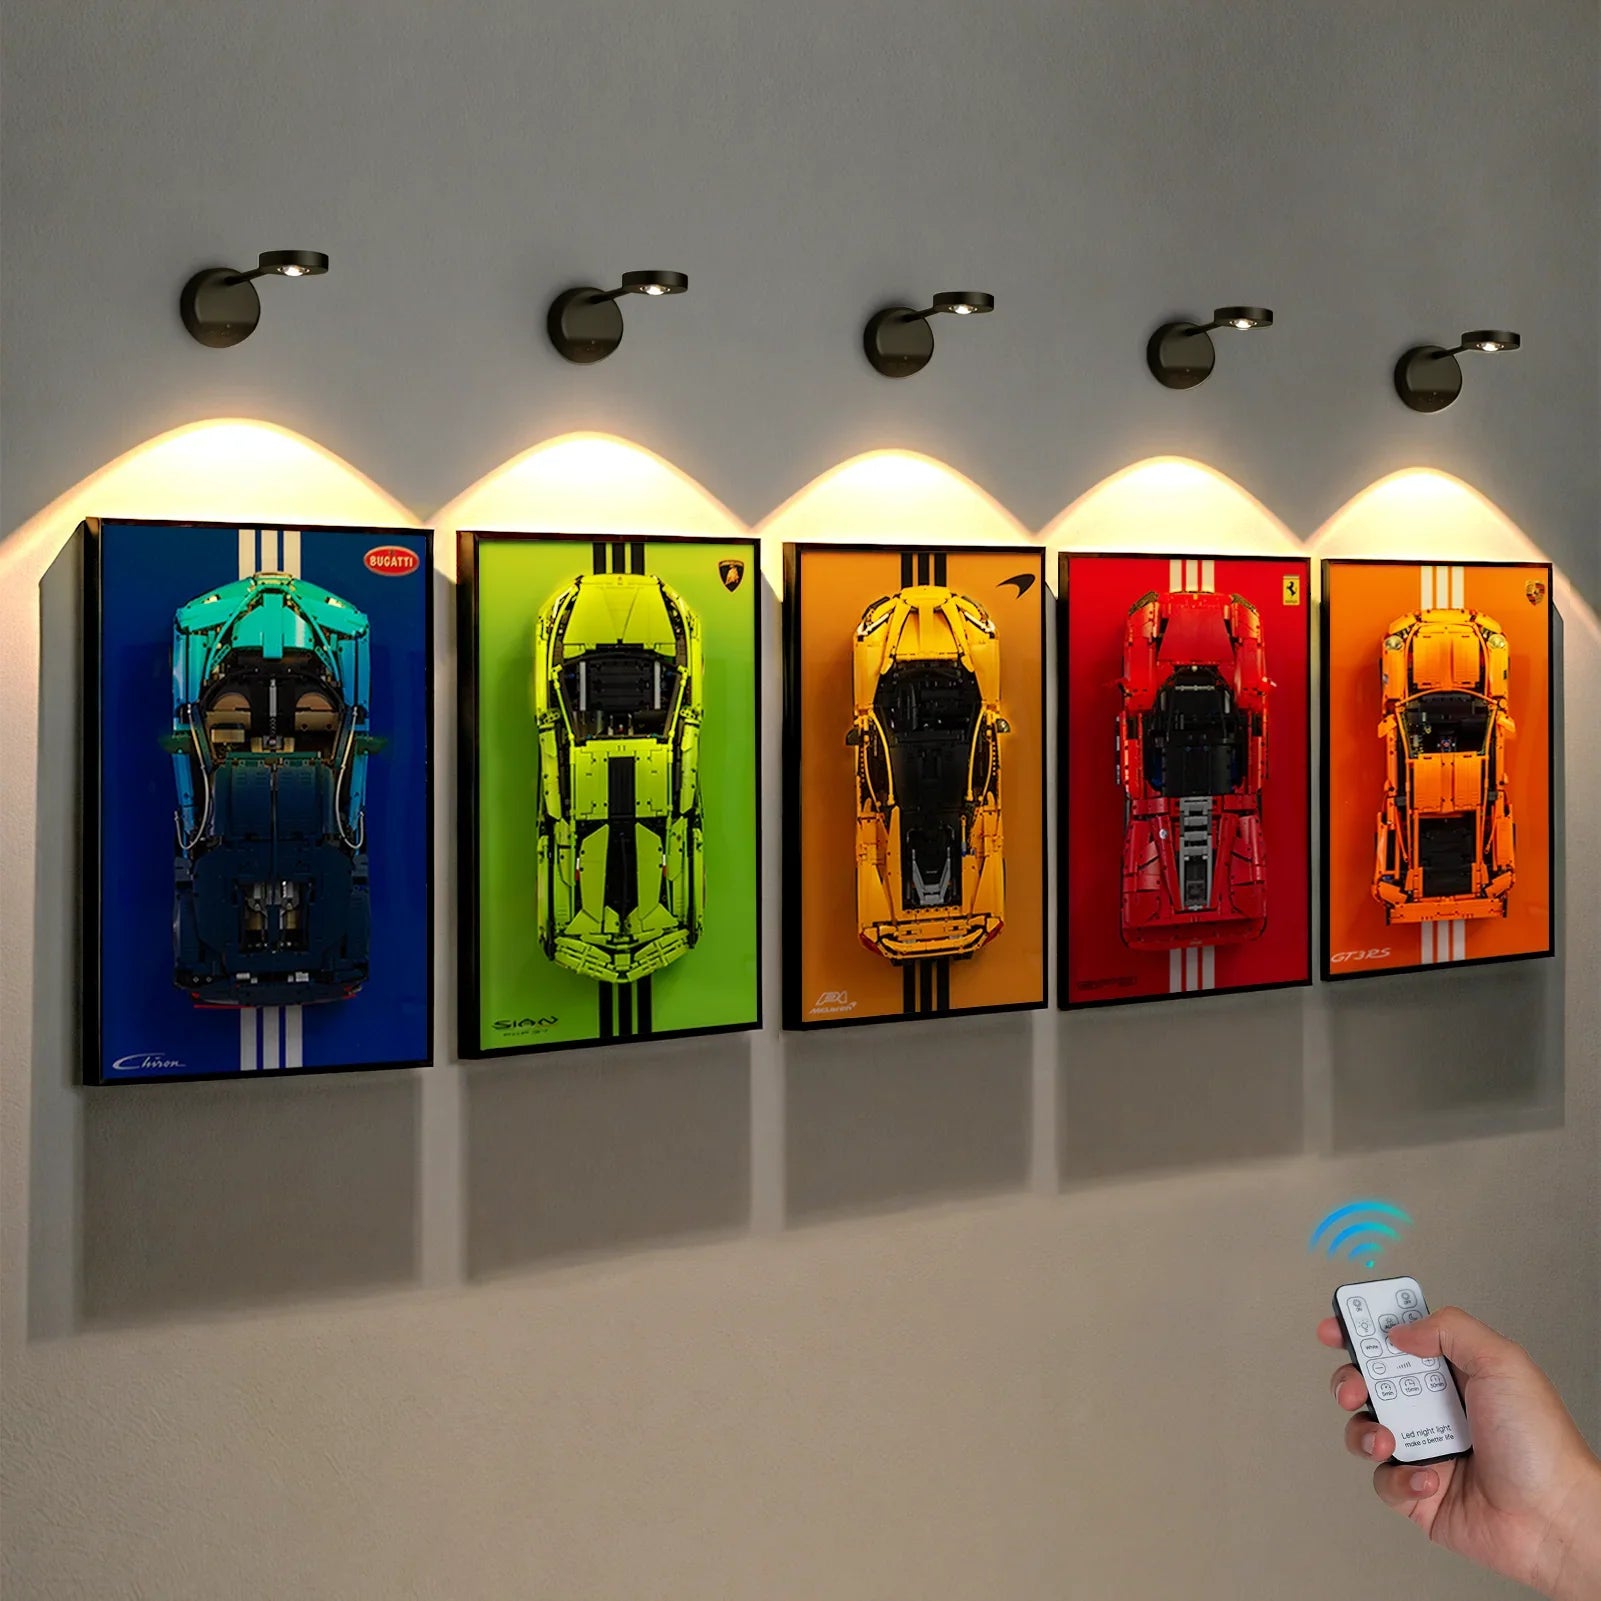


Your next LEGO® Technic™ supercar may fit your collection better than it fits your shelf. A model nearly 60 cm long needs a substantial stretch of furniture, especially when you want to see the bodywork rather than tuck it behind another build.
A LEGO® Technic™ car wall display can give that surface back. But the useful first decision is how much wall space the complete display needs. Choose the layout before choosing the artwork, and you can avoid a frame squeezed beside a door, a row that runs out of wall, or a car that projects into your everyday workspace.
This guide uses three WETCEAOM frames—McLaren P1 42172, Ferrari Daytona SP3 42143 and Lamborghini Sián FKP 37 42115—to work through a practical plan you can measure at home.
1. Match the Set Number Before Measuring the Wall
Write down the number from your LEGO® box or instructions. “McLaren,” “Ferrari” and “Lamborghini” identify the marque, but they do not identify the mounting requirements of a particular build. Even two cars with similar overall dimensions should not be assumed to use interchangeable attachment points.
For a LEGO® Technic™ wall mount display frame, check the specific set listed on the product page first. Then compare the model size with the space the frame will occupy.
| LEGO® model | Set number |
Model dimensions, L × W × H* |
Matching WETCEAOM frame, listed dimensions |
|---|---|---|---|
| McLaren P1 | 42172 | 59 × 25 × 14 cm | 80 × 50 × 3.5 cm |
| Ferrari Daytona SP3 | 42143 | 59 × 25 × 14 cm | 80 × 50 × 3.5 cm |
| Lamborghini Sián FKP 37 | 42115 | 60 × 25 × 13 cm | 80 × 50 × 3.5 cm |
*Model measurements are rounded reference figures from LEGO’s official descriptions, which use “over” wording. Measure your assembled model, including mirrors and any modifications. Frame measurements come from the corresponding WETCEAOM product pages.
The examples below use the portrait presentation shown in the product images: 80 cm tall and 50 cm wide. These measurements apply to the three frames above; check other products individually. The listed 3.5 cm frame depth is not the total distance an installed car will project from the wall.
2. Count the Frames, Then Calculate the Row
Measure the usable wall between obstacles, not the room’s total width. A wardrobe door, curtain or light switch can make part of a wall unsuitable even when it looks empty.
For these portrait frames, the row calculation is straightforward:
Row width = number of frames × 50 cm + gaps between frames.
Using a 10 cm gap as a visual planning example gives these layouts:
| Layout | Calculation | Frame group width | Frame group height |
|---|---|---|---|
| One frame | 50 cm | 50 cm | 80 cm |
| Two frames in a row | 50 + 10 + 50 | 110 cm | 80 cm |
| Three frames in a row | 50 + 10 + 50 + 10 + 50 | 170 cm | 80 cm |
The 10 cm gap is an editorial styling example, not a manufacturer-specified clearance. These totals exclude space around the group and any access required for installation or removal.
Example: a 160 cm-wide clear wall section above a sideboard. Two frames with a 10 cm gap use 110 cm, leaving 25 cm on each side if centered. Three frames at the same spacing need 170 cm and will not fit. Reducing the gaps to 5 cm would use the entire 160 cm width, leaving no outer margin. A two-car arrangement is the more forgiving starting point.
If a third car is already on your wish list, plan its rectangle now. You can reserve a wider wall for the eventual trio instead of positioning your first frame in the middle of a space that cannot grow.
3. Test the Layout With Full-Size Paper Templates
A product image does not show how large an 80 cm frame will feel beside your monitor or bookcase. Make that decision in the room.
-
Make one 80 × 50 cm paper rectangle for each proposed frame. Label each with the set number. Use a temporary attachment method appropriate for your wall finish.
-
Position the entire group. Start with the same top line and your chosen gaps, then step back to the place where you normally view the wall.
-
Check from your everyday seat. At a desk, sit down with the monitor in its usual position. A display that looks clear while standing can disappear behind the screen when you work.
-
Check what moves nearby. Open the cabinet or room door and move the desk chair through its normal range. Remember that the paper only represents the frame’s face.
-
Leave the templates up through a normal day. Look at them in daylight and with the room lights on before committing to the arrangement.
For an office, the strongest position may be beside the desk rather than directly above it. For a living room, a pair above a low sideboard may let you view both cars without moving other objects. The right location is the one that remains useful after the room returns to its everyday routine.
4. Check Depth and Access Before Calling It a Fit
A wall display is three-dimensional. The car, its attachment system and the frame all affect the final projection. You cannot use the 3.5 cm frame figure as the finished installation depth—or simply assume that adding the model’s height gives the exact answer.
Before ordering, ask for the installed projection of your selected model-and-frame combination. Compare that with nearby shelves, doors and the space where people pass. A narrow walkway needs a different assessment from an open wall behind a sideboard.
Think about access, too. If you regularly take a model down to explore its mechanisms, choose a location where you can reach it comfortably and have somewhere nearby to set it down. Confirm the removal procedure for that specific frame rather than assuming the model lifts straight off.
Once the position is settled, follow the frame’s supplied installation instructions and confirm that the fixings suit your wall and the complete assembly. A paper layout establishes proportions; it does not establish a safe fixing method.
5. Choose the Background as Part of the Whole Row
With the layout measured, you can choose the visual treatment. The orange P1, red Daytona SP3 and green Sián product images show how a matching background can make each build read as its own display piece.
For a two-car wall, keep the frame tops aligned and use the same gap throughout. For a larger collection, decide on a consistent arrangement before adding more frames. Matching outer dimensions help organize the wall even when the cars have different colors.
Collectors often plan beyond their first frame. Many fans wonder if matching display frames are available for other Technic supercars such as the Bugatti and Ferrari models. This is a great question to consider before building your wall gallery: will future models fit your overall layout? This common collector conversation refers to third-party display frames and is not a WETCEAOM customer review
If you choose a lighting option, confirm its power requirements and plan the cable route before deciding on the final position. Likewise, if dust protection is a priority, check whether a compatible cover is part of your selected purchase or a separate accessory. An open display frame should not be treated as an enclosed case.
Choose the Frame That Fits Your Plan
Once you have a set number, a paper layout and a workable position, choosing a LEGO Technic car display frame becomes much simpler. For the examples in this guide, explore the McLaren P1 42172 wall display frame, Ferrari Daytona SP3 42143 display frame or Lamborghini Sián 42115 wall frame.
For other builds, browse the WETCEAOM LEGO Technic Car Wall Frames collection and check the dimensions and exact model compatibility of the selected listing. Give each car a planned place on the wall, and the shelf space you reclaim can stay useful.
Frequently Asked Questions
Will one frame fit any 1:8 LEGO® Technic™ supercar?
Do not assume so. Match the frame to the exact set number. Similar scale and dimensions do not confirm that the attachment system will suit another model or a modified build.
How much wall space do I need for two frames?
For two of the 80 × 50 cm frames in this guide, displayed vertically with an example 10 cm gap, the group measures 110 cm wide by 80 cm tall. Allow additional space around it and confirm any installation and removal clearance.
Does the 3.5 cm depth include the LEGO® car?
Use 3.5 cm as the listed frame dimension, not the completed display depth. Ask for the wall-to-front measurement with your specific model mounted, particularly beside a doorway or in a narrow room.
Are the LEGO® model, lights and dust cover included?
The LEGO®model is not included. Check the selected frame option for lighting and accessory contents. Do not assume that a separate dust cover or every item shown in a styled product image is included.
Can I install the frame on any wall?
Suitability depends on the wall construction, fixing method and complete mounted weight. Confirm these against the product instructions before installation. This layout guide does not specify anchors, drill sizes or a universal load rating.
What should I confirm if I want to add a third car later?
Check that a matching frame is available for the future set and reserve the space now. Three 50 cm-wide portrait frames with two example 10 cm gaps occupy 170 cm of width before outer margins.

