
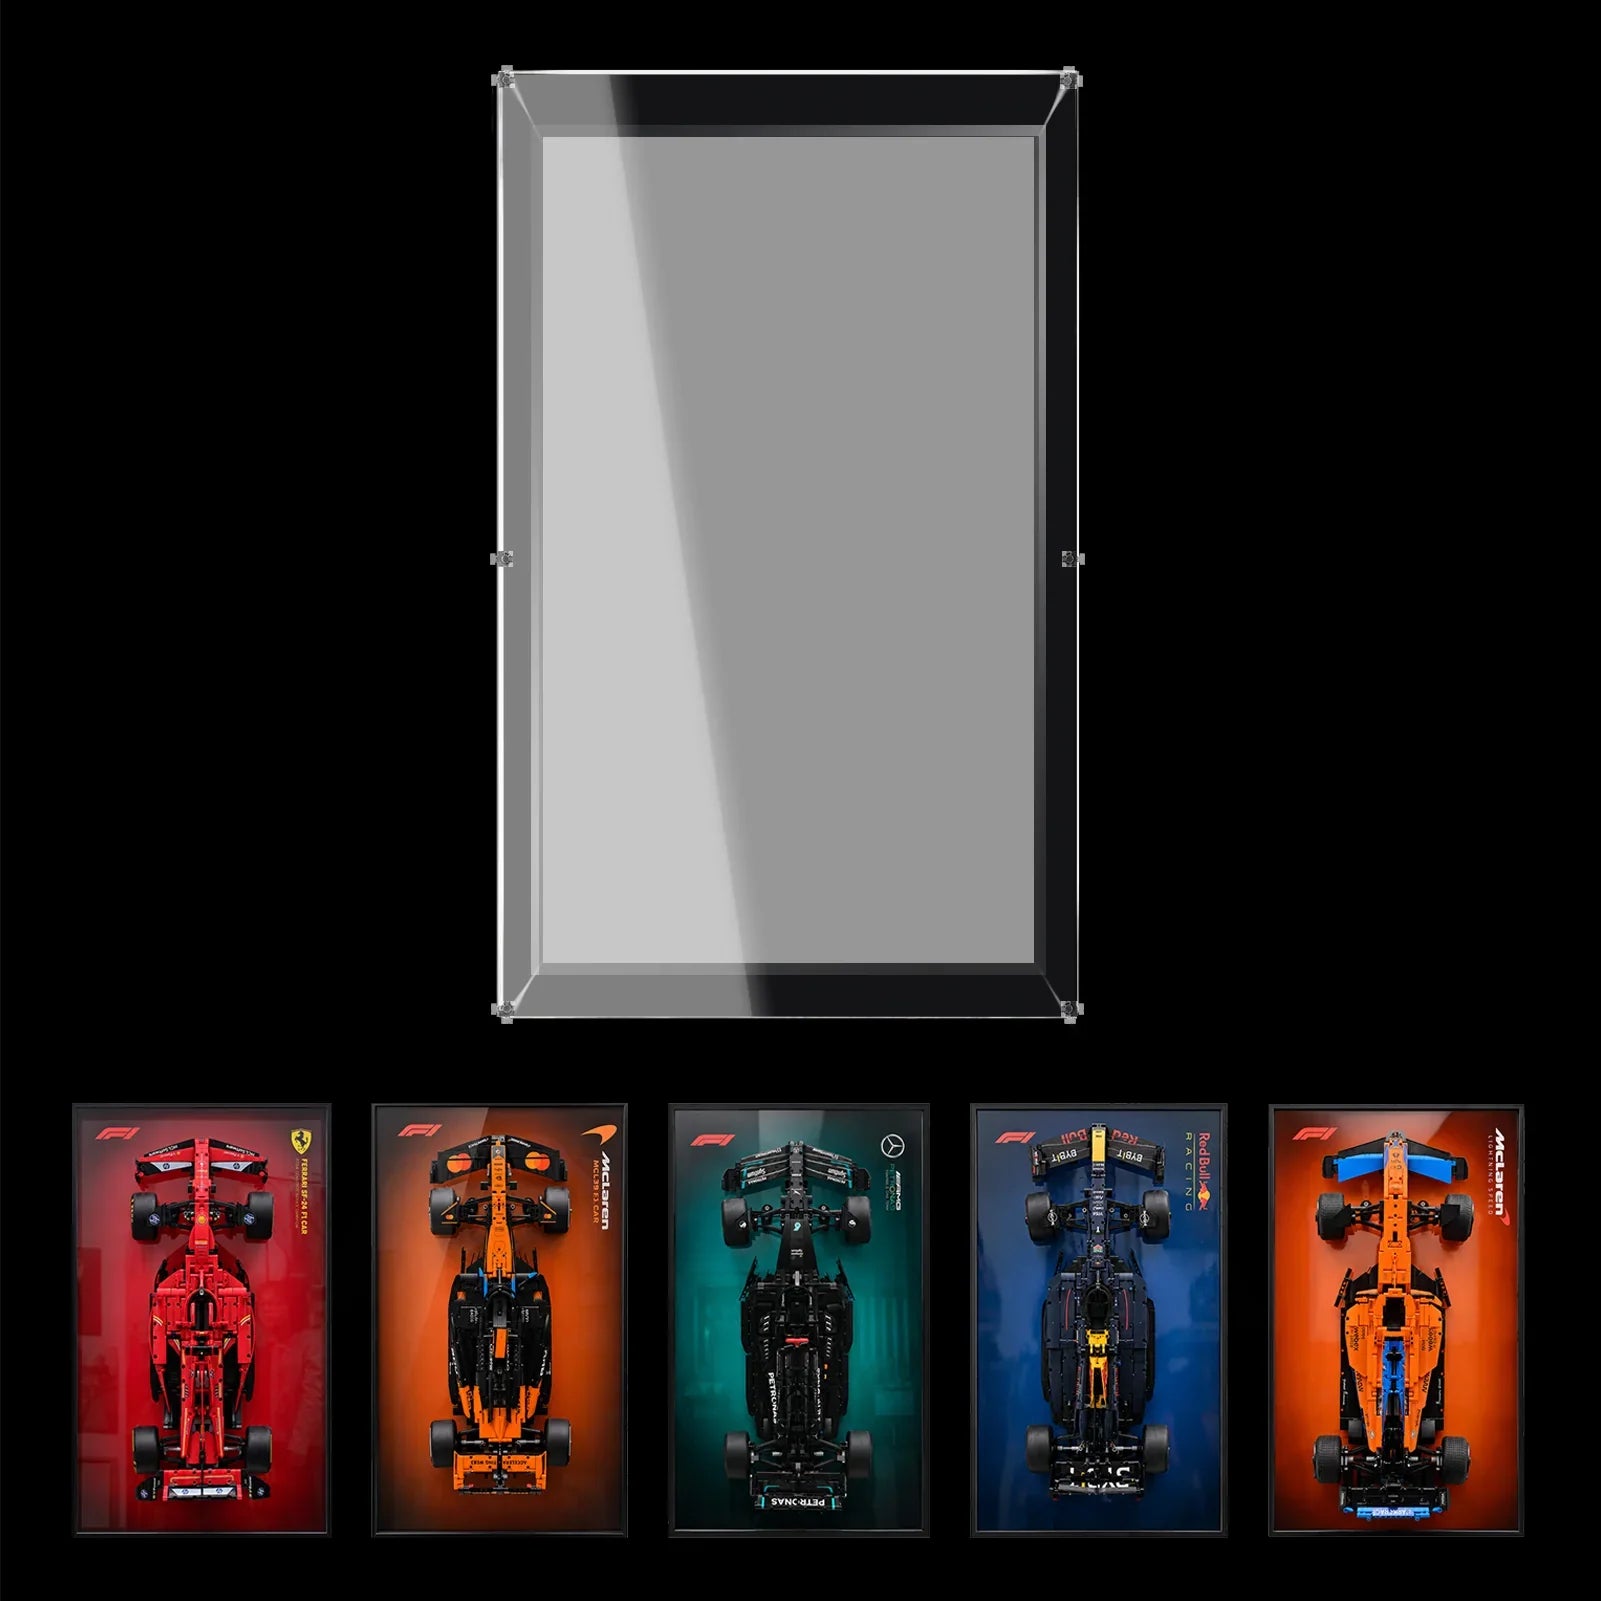

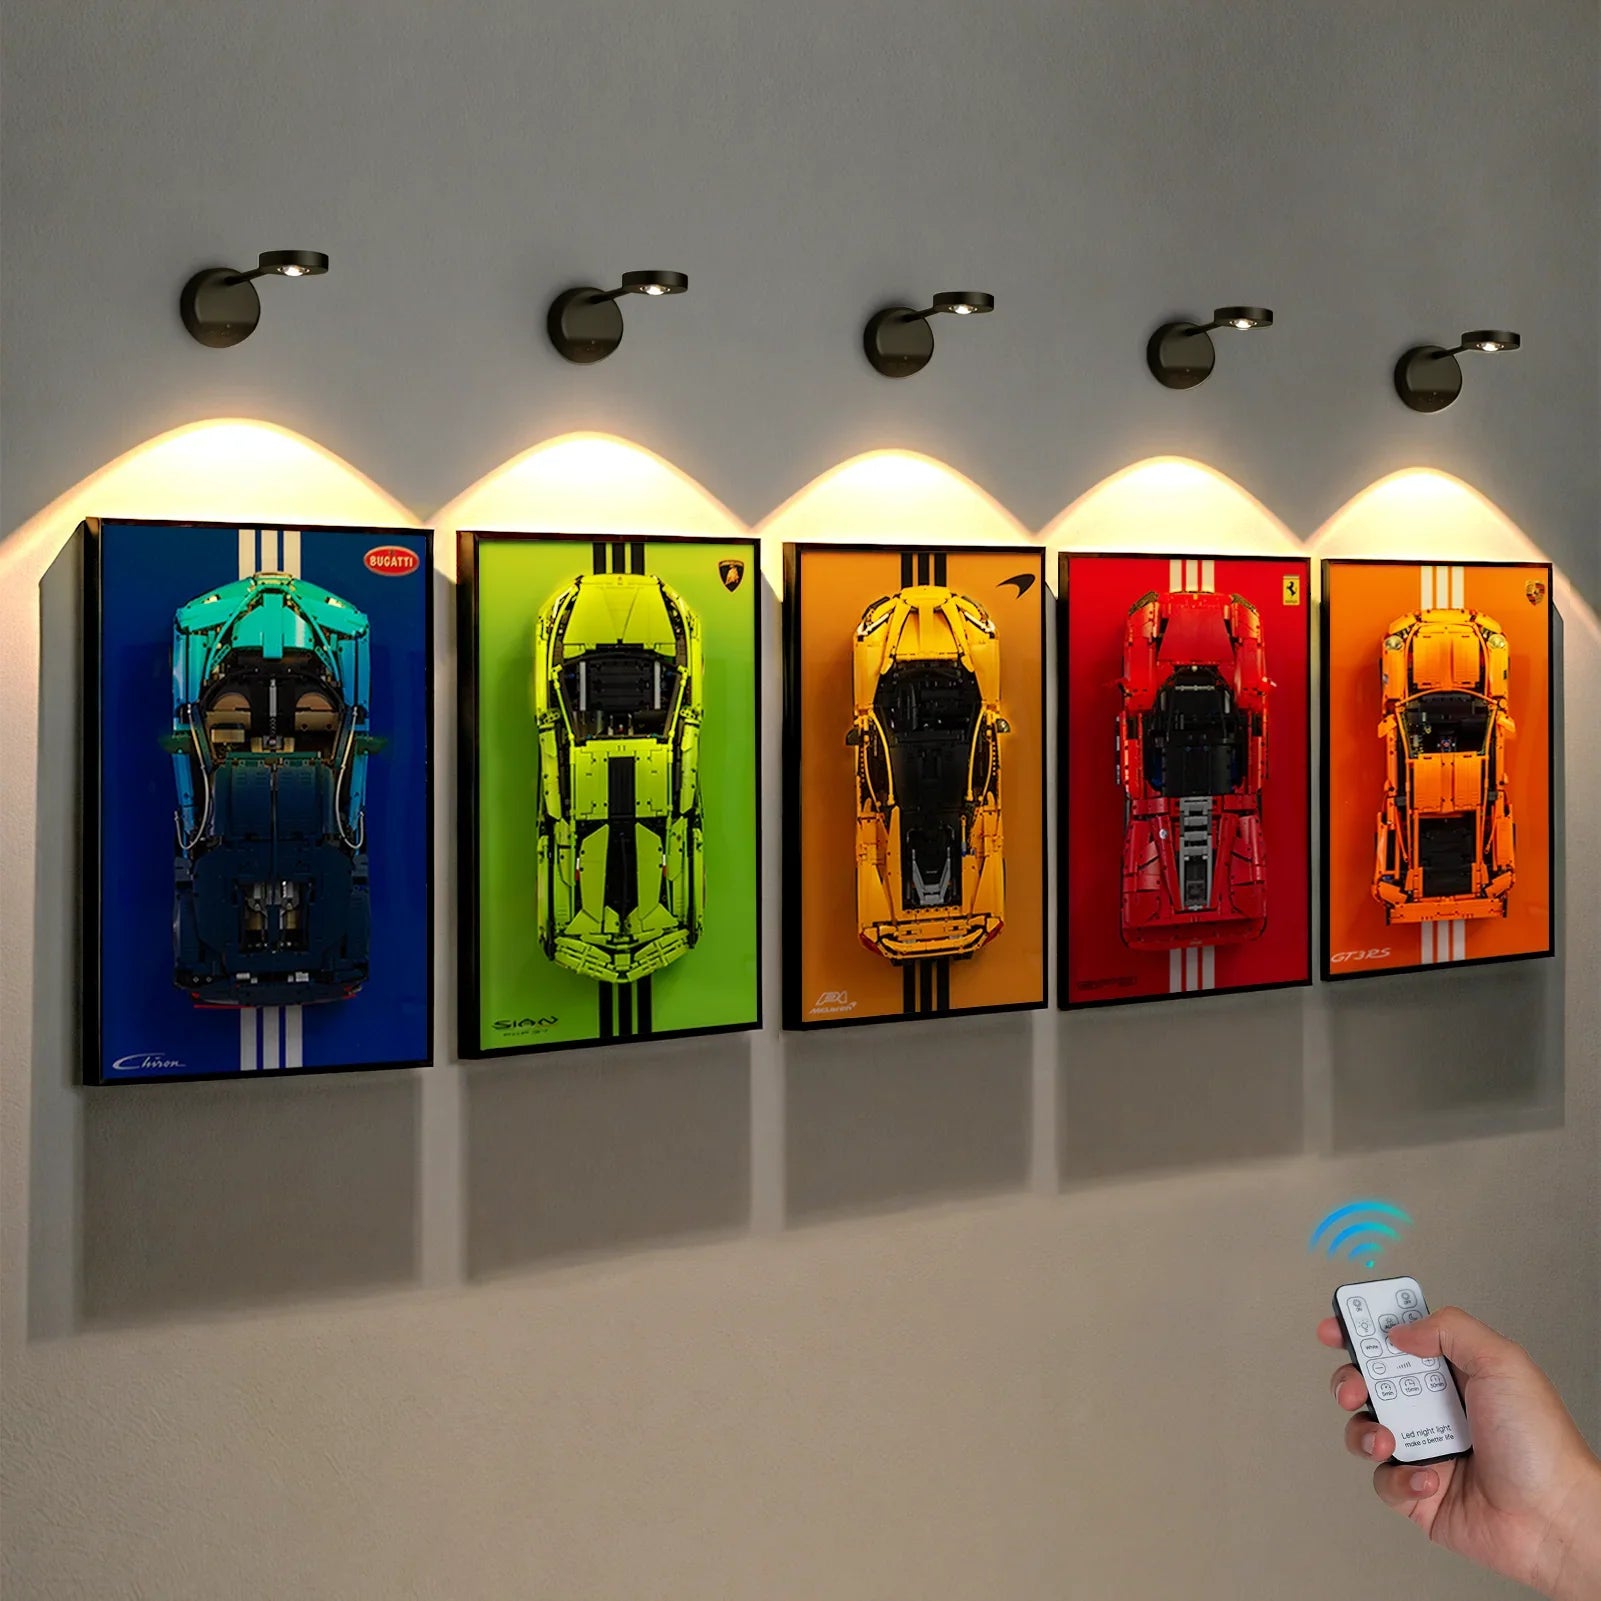


Choose a LEGO® Technic™ display frame by exact set number first, mounted silhouette second, and wall position third. A shared 1:8 scale label does not guarantee a compatible mounting setup.
Your shelf comfortably holds your first large Technic supercar. Add a second, and the vehicles often have to be angled sideways just to fit. Moving one supercar onto the wall frees shelf space, but selecting a LEGO® Technic™ wall display frame starts with your specific model — not an empty spot on the wall.
Two models marked as 1:8 scale can have unique silhouettes and mounting requirements. Always use the official set number as your primary fit checkpoint.
Identify the build precisely
Locate your set number on the instruction manual or order record. Note it alongside the model name to avoid mixing up smaller variants or later re-releases of the same car.
For example, a wall frame built for the McLaren P1 42172 must clearly reference set 42172. Generic listings for other McLaren models or generic race car frames do not confirm compatibility. If you have customised the bodywork or added aftermarket parts, share those modifications when checking fitment.
Compare the whole mounted outline
Review product photos showing your exact LEGO model secured inside the display frame. Check where tyres, mirrors, the nose and rear bodywork sit relative to the frame border. Then compare this layout against your available wall space.
A frame’s printed outer dimensions only cover its footprint on the wall. The supercar also projects forward into your room. Even if the frame’s rectangle fits between a door and cabinet, narrow walkways can still cause clearance issues. Always check foot traffic around your display spot.

Make a wall template without improvising a mount
Once you confirm the outer dimensions for your chosen frame, cut a paper template matching that size and tape it to your wall. Open nearby doors and cabinets through their full range of motion. View the template from your usual seating spot or entryway, where you will most often admire the model.
If you have to tilt awkwardly to see the supercar clearly, reposition the template and test again. If lamps or swinging doors occupy the same space, pick another wall. Never assume the mounted supercar sits flush against the wall.
This paper template only tests placement and sightlines. Always follow the official frame instructions for securing the LEGO build and wall installation. Never copy hanging methods from other collectors’ photos as a substitute.
Select the frame after the fit checks agree
Expertly tailored for LEGO® Technic™ McLaren P1 42172, our premium wall display frame is engineered exclusively for this iconic supercar model. Review our mounted product shots to visualise the final arrangement, and verify your selected option plus installation specs prior to checkout.
If you plan to expand your collection with more 1:8 supercars later, run this full fit check for every individual model. Matching frame borders create a neat, uniform gallery, but identical outer frame sizes do not mean identical mounting brackets or support points.
Finalize your frame purchase only once the set number, mounted silhouette, and wall location all check out.This gives your supercar a carefully planned home, instead of simply swapping a crowded shelf for an awkward wall display.
Separate model identity from display options
The McLaren P1 display frame comes with multiple printed backdrops, plus Standard and RGB USB lighting variants. These options change the visual style of your display, but they do not change which LEGO set the frame fits. Keep a simple selection note: McLaren P1, set 42172, your chosen backdrop design and lighting version. This prevents you from accidentally ordering based on attractive preview photos of a different configuration.
The McLaren P1 is a 1:8 scale model, yet scale alone is only a loose classification. Other 1:8 Technic supercars may feature longer noses, wider rear arches or different underbody support points. When building a multi-car wall gallery, evaluate each model’s mounted photos independently. Once every fit is confirmed, align frame edges to tidy up your layout.

Plan the space in front of the wall
A flat paper template cannot account for forward projection of the supercar. Use it to lock the wall position, then view the spot from the side. Watch for chair backs, doors, curtains and anything that regularly passes through that area. A display above a quiet console table will behave very differently from one squeezed next to a narrow hallway.
If you cannot confirm how far the mounted car sticks out, avoid picking a spot that relies on minimal clearance. Flag that depth measurement as unknown. Choosing a more open wall is usually a smarter fix than endlessly adjusting height in a cramped passage.

FAQ
Is the set number more useful than the scale?
Yes. Set 42172 identifies this specific McLaren P1 build, while 1:8 is just a broad scale category. Start with the exact set number, then verify the approved pose, support structure and product options for your model.
Can I display the P1 with its doors open on the frame?
Do not assume this from basic compatibility. The official mounting photos define the supported pose for this frame. An open-door pose alters the silhouette and load distribution. Only use this pose if explicitly permitted in the frame guide or by the manufacturer.
Are the lights included in every version?
Do not take lighting for granted. This listing offers Standard and RGB USB options, even when the copy discusses illuminated displays. Select the exact variant you want, and plan a power supply route if you pick the lit version.
Can several different supercars sit in one straight row of frames?
They can form a cohesive gallery only if each model has its own dedicated compatible frame. Align frame outer edges after each individual fit check. Matching frame size does not equal matching mounting hardware, bracket placement or approved poses.
Is a wall template enough to approve the installation?
No. It only tests sightlines and placement. Wall construction, fixings, model attachment and the full installation workflow must follow the product manual. A paper template cannot confirm weight load capacity or suitable wall fixings.
What information helps resolve a modified model's fit?
Share the set number, photos of all custom changes and any altered dimensions. Include underside shots if modifications affect support points, and describe your intended pose. This lets us assess your actual custom build, not just the stock LEGO model.

