
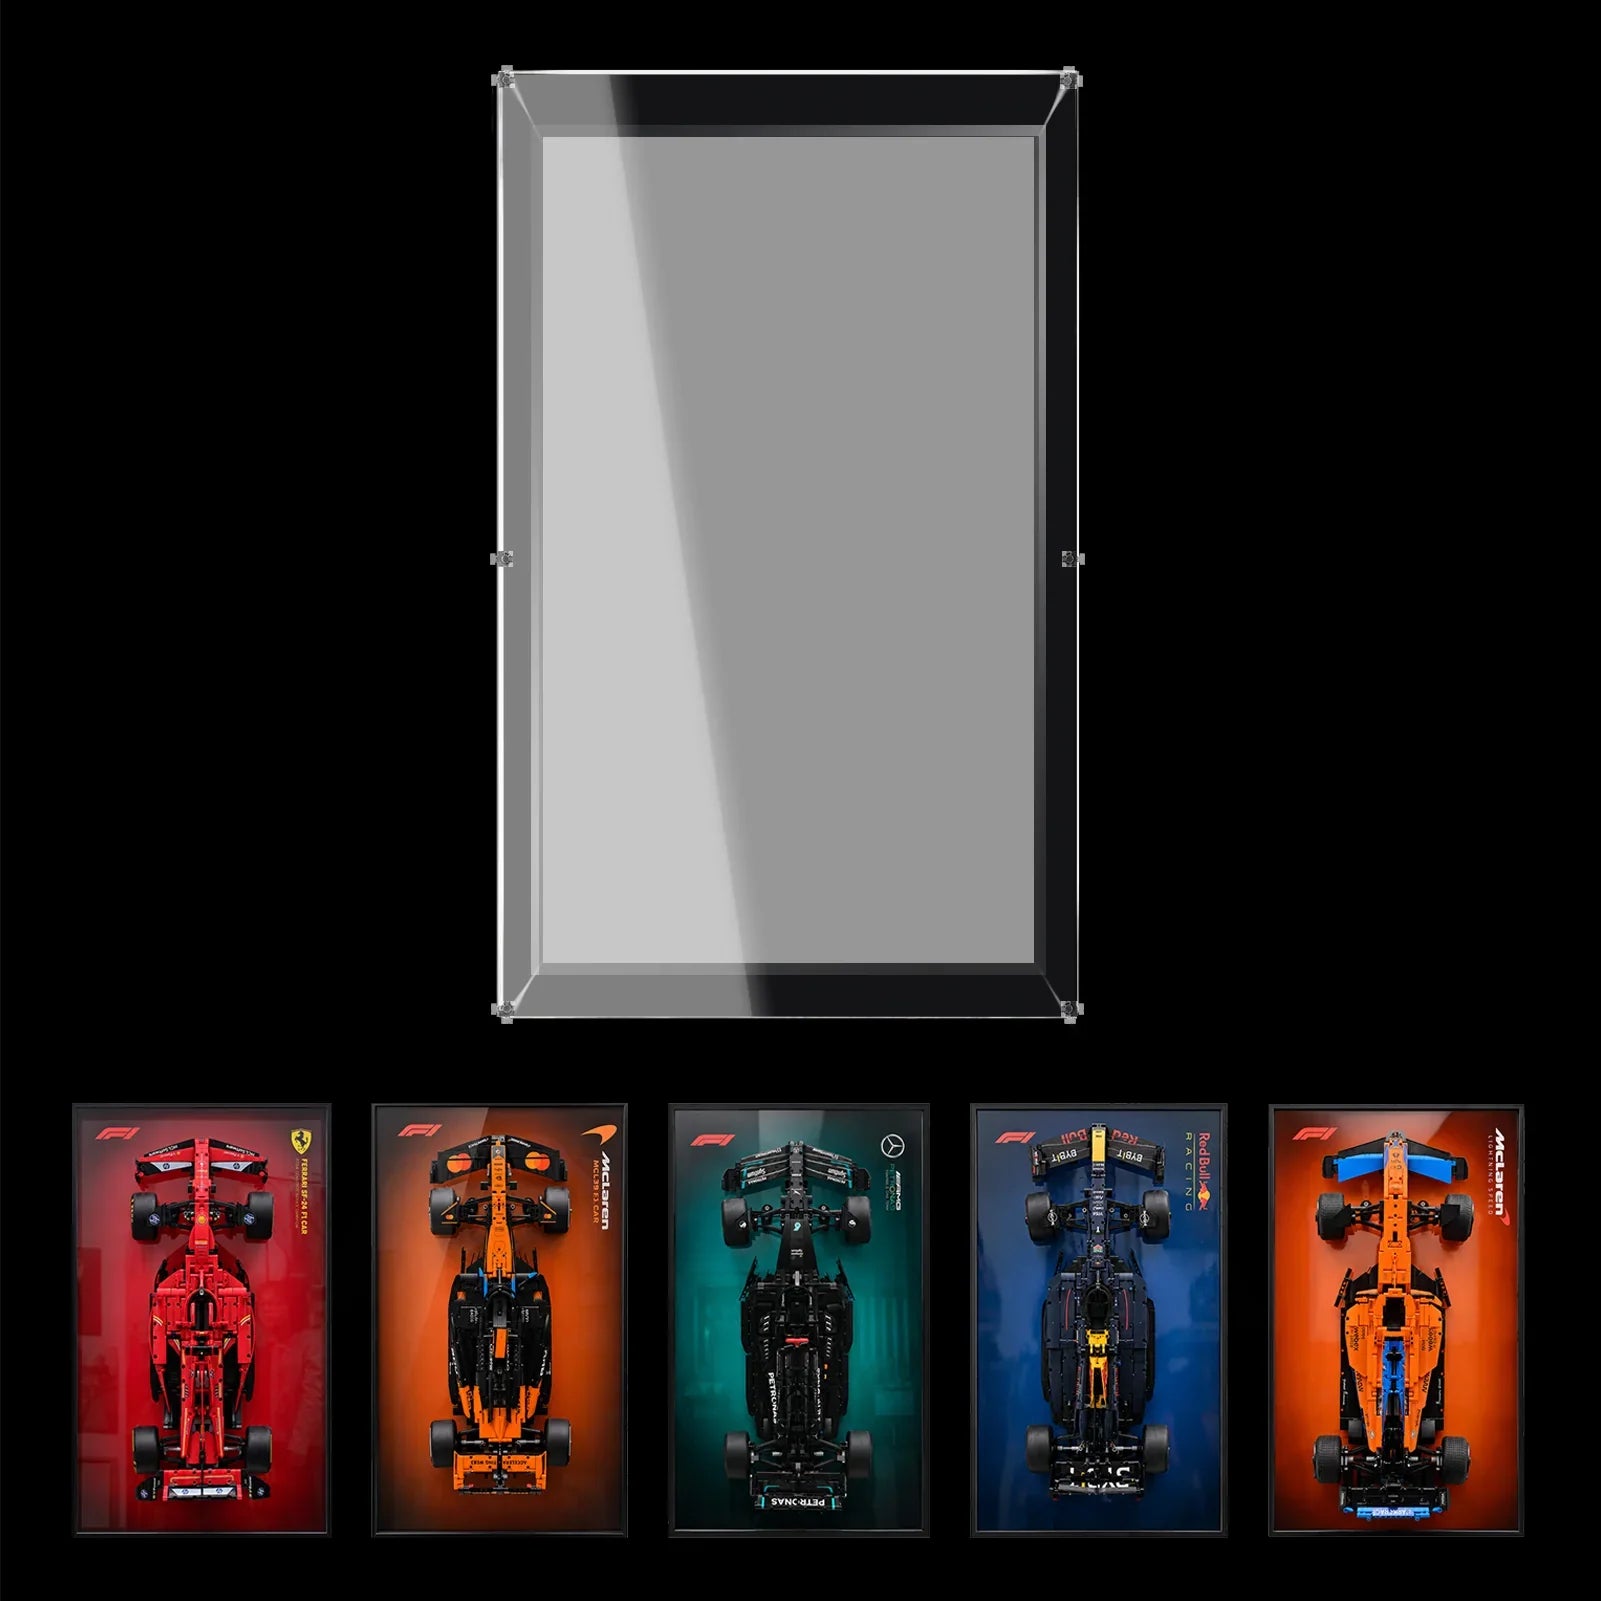



A 150-slot LEGO® minifigure acrylic display case is built for large collections, but “150 figures” is only the theoretical maximum. How good your final display looks depends far more on sorting logic, tier layout, and the extra space needed for capes, helmets, wings and custom accessories. WETCEAOM’s six-tier acrylic minifigure case features 3 mm high-clarity acrylic, integrated fixed tiers, a solid black base and crystal-lock screw sealing. Minifigures and all accessories are sold separately.
This guide walks you through a practical workflow: sort first, plan the zones, then arrange. The goal is to avoid a cramped, cluttered wall of minifigures, even when you are pushing close to the listed capacity.
Step 1: Pick one sorting system and stick to it

Before you place a single figure inside, decide on your grouping rule. Popular options include theme, character faction, collectible series, release era, or personal favourite priority.
The most common layout mistake is mixing sorting rules across tiers. For example, one tier sorted by theme, the next by colour, and another by release year makes the collection hard to scan and difficult to maintain later when you add new minifigures.
Next, split your figures into two groups: standard standing minifigures, and figures with bulky extras. Capes, large shields, animal companions, oversized headgear and wide dynamic poses all take up extra horizontal and vertical room. Measure the tallest figure, the widest accessory and the furthest projection of each pose you plan to keep.
Also measure the footprint of the whole case, then mark its position on your shelf, cabinet or desk with removable tape. Check front clearance: you need enough space to open the case and take figures out without knocking neighbouring accessories.
Step 2: Use the six tiers as dedicated visual zones

Eye level = your highlight zone
Middle tiers are the natural focal point. Reserve these for your most important, photographed or frequently shown minifigures. Upper tiers work well for groups you rarely touch; lower tiers are convenient for casual access, but avoid placing heavy or high-value figures where they are easy to knock.
Match the location to your space: home office placement behind the desk keeps the display visible without eating up workspace; hobby studios should keep it away from loose bricks and building tools; living areas or man caves should avoid low surfaces where bags, game controllers and pets can bump the acrylic.
Do not force every slot to be filled
The “up to 150 minifigures” rating is designed for standard figures with minimal accessories. If your collection has many capes, wings and large props, you will need to reduce the quantity. Empty breathing space keeps faces and details visible, and stops accessories overlapping between adjacent figures.
Control the background for better visibility
Clear acrylic will not automatically make every minifigure stand out. A plain dark background helps bright figures pop; busy patterned wallpaper or clutter behind the case makes small accessories hard to see. Avoid strong direct sunlight behind the display line, and view the arrangement from both your seated position and the room entrance to check the overall effect.
Step 3: Understand what this case is (and is not) for
This six-tier enclosure is a display showcase, not storage for spare parts. Keep extra capes, spare weapons, instruction booklets and packaging in separate labelled boxes outside the case. This keeps the layout clean, simplifies dust cleaning and makes seasonal rearrangements much faster.
Always verify the tier internal dimensions and available variants on the live WETCEAOM product page before ordering. This is especially critical if you use custom printed parts, custom bases or oversized builds.
FAQ
How many minifigures with capes and helmets fit comfortably?
150 is the maximum for plain standard figures. Bulky accessories reduce the usable capacity. Measure your widest and tallest figures and leave buffer space so capes and helmets do not overlap. Send photos and measurements to info@wetceaom.com if you have unusual custom minifigures.
Can open, dynamic poses fit inside the tiers?
Only if the full pose — including raised arms, wings, shields and capes — fits within the tier’s internal height and width. Do not judge fit based on a neutral standing figure alone.
Six-tier or smaller minifigure case — which should I pick?
Choose this six-tier 150-slot model when you want one unified home for a large collection. Pick a smaller case if you prefer a lighter, more curated display with generous empty space around every character. Always compare the case footprint against your shelf before deciding only by capacity.
Can I mix different LEGO themes in one case?
Yes, as long as you stick to one consistent grouping logic. A continuous theme sequence or faction grouping stays organised; randomly filling empty slots with new figures will quickly become messy.
Does the crystal-lock acrylic case protect minifigures from dust?
The screw-sealed crystal-lock structure provides reliable dust protection when the panel stays closed. Clean the acrylic surface gently with a soft microfiber cloth. Never spray cleaning liquid directly onto the acrylic or the minifigures inside.
Is it okay to mount minifigures on custom display plates?
Only when the combined height of figure + base stays within the tier clearance. Custom bases take up vertical space and will lower the total number of minifigures you can fit per tier.
Step 4: Build your routine for access and moving

Before opening the case, clear the area in front. Lift minifigures by the torso or base; never pull on helmets, capes or handheld accessories, these small pieces detach easily. Have a clean tray ready to hold removed figures so tiny parts do not get lost.
Take a full overview photo of the finished layout, plus close-ups for tiers with fragile accessories. Write down your sorting rule for future reference. When your collection grows, add new figures following the same rule rather than filling random gaps.
If you move the display case, empty all minifigures first and carry the case from the base. Any time you change a figure’s pose or add a new large accessory, recheck the fit and confirm the front panel can be opened and cleaned without touching the figures.

