



Many LEGO® Art™ Keith Haring™ 31216 owners accidentally ruin the impact of this iconic set by crowding it onto a busy gallery wall. This vibrant horizontal artwork relies on the connection between its five dancing figures, so it needs a single continuous wall zone to shine. Before adding smaller decor pieces around it, map out how this wide display sits with the furniture below.
A colourful LEGO® Art™ mosaic looks fantastic above a sideboard — until you fill the same wall with scattered mini prints and trinkets. For the Dancing Figures set, your first rule is simple: reserve one uninterrupted space for the whole composition.
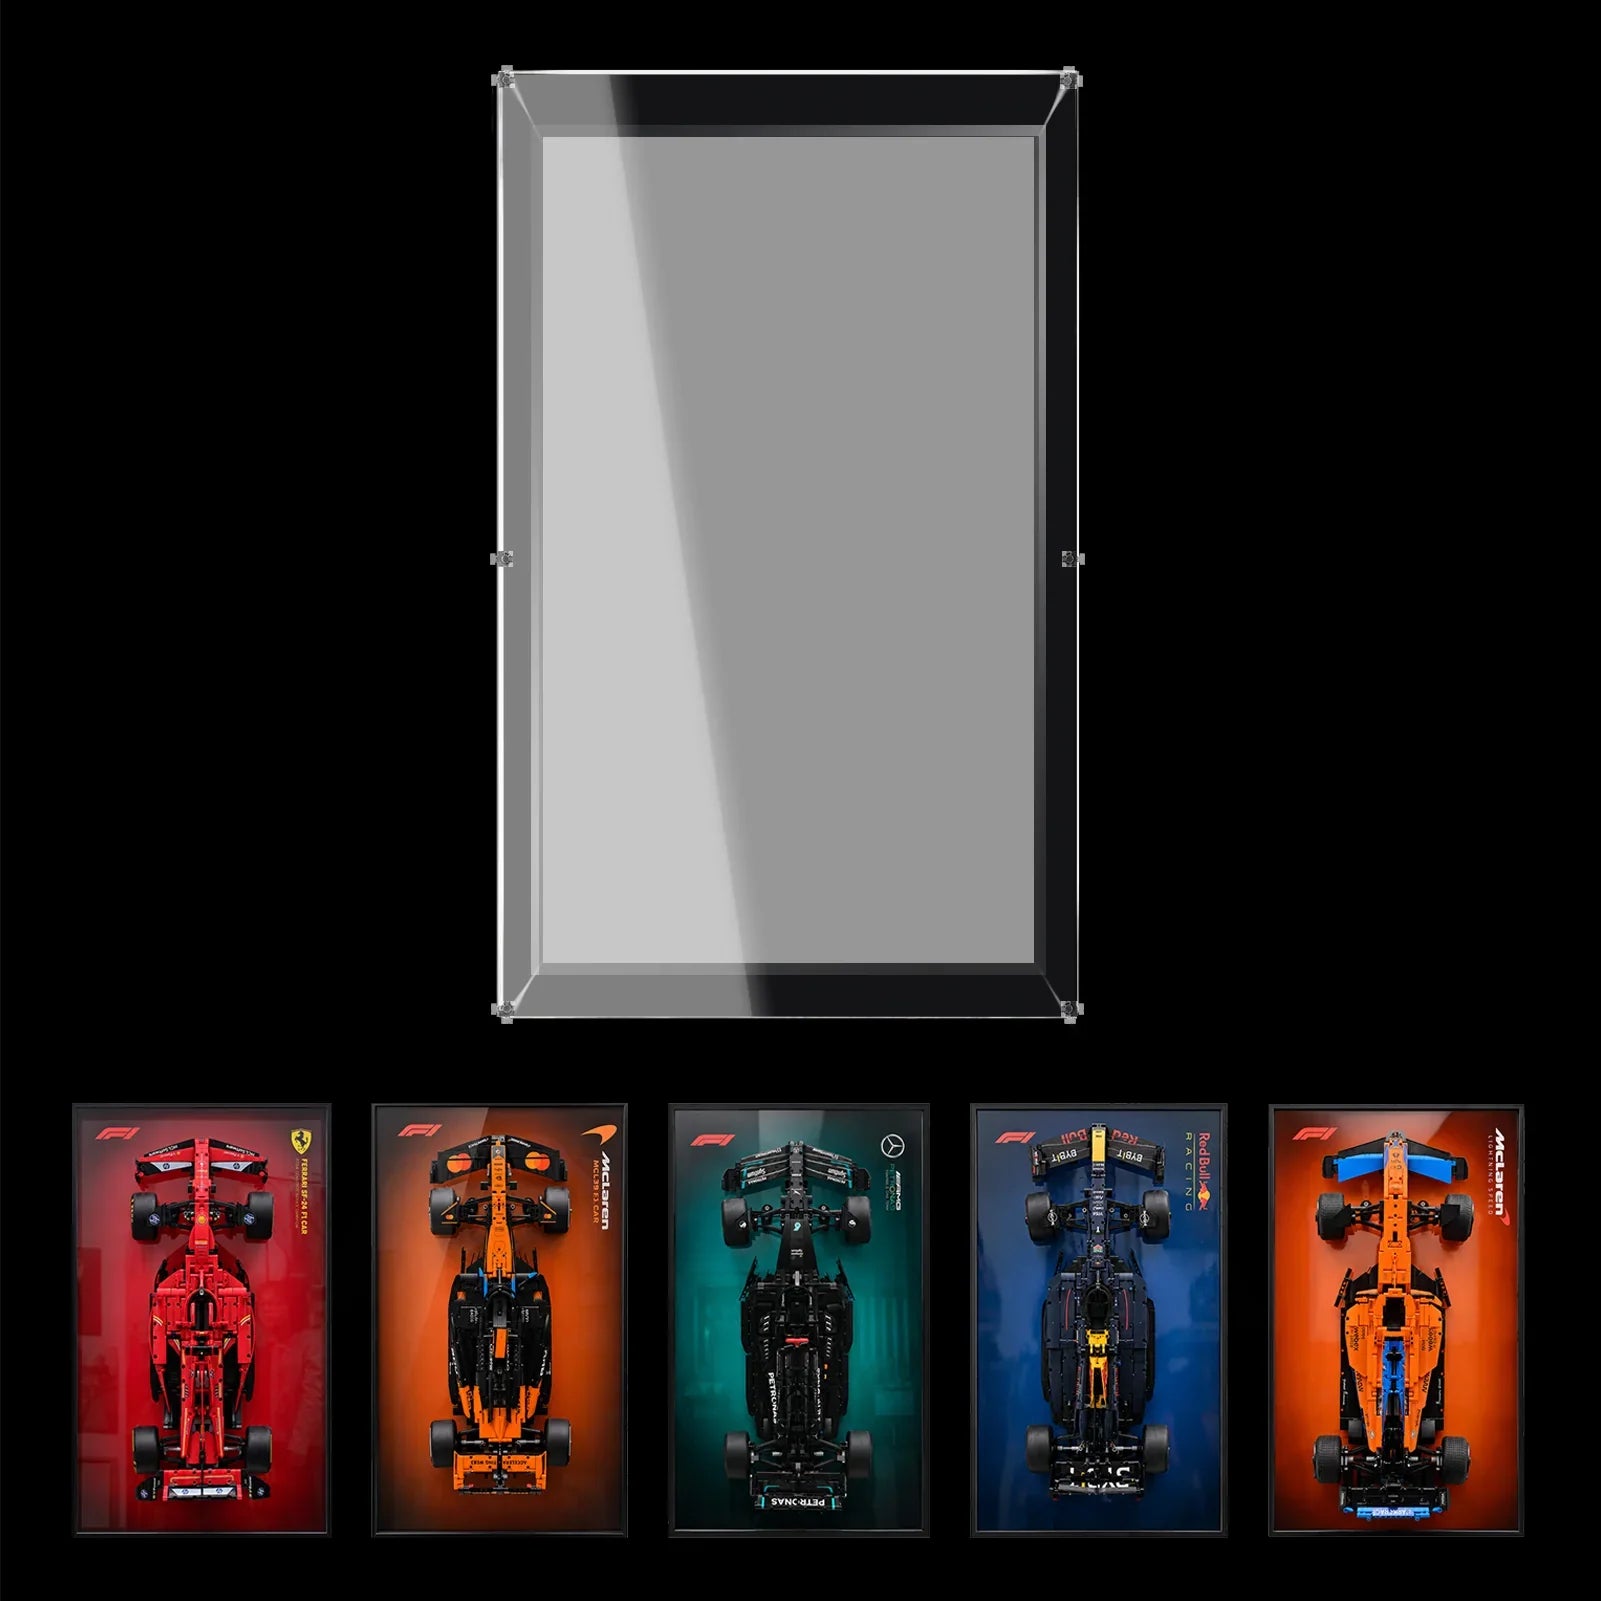
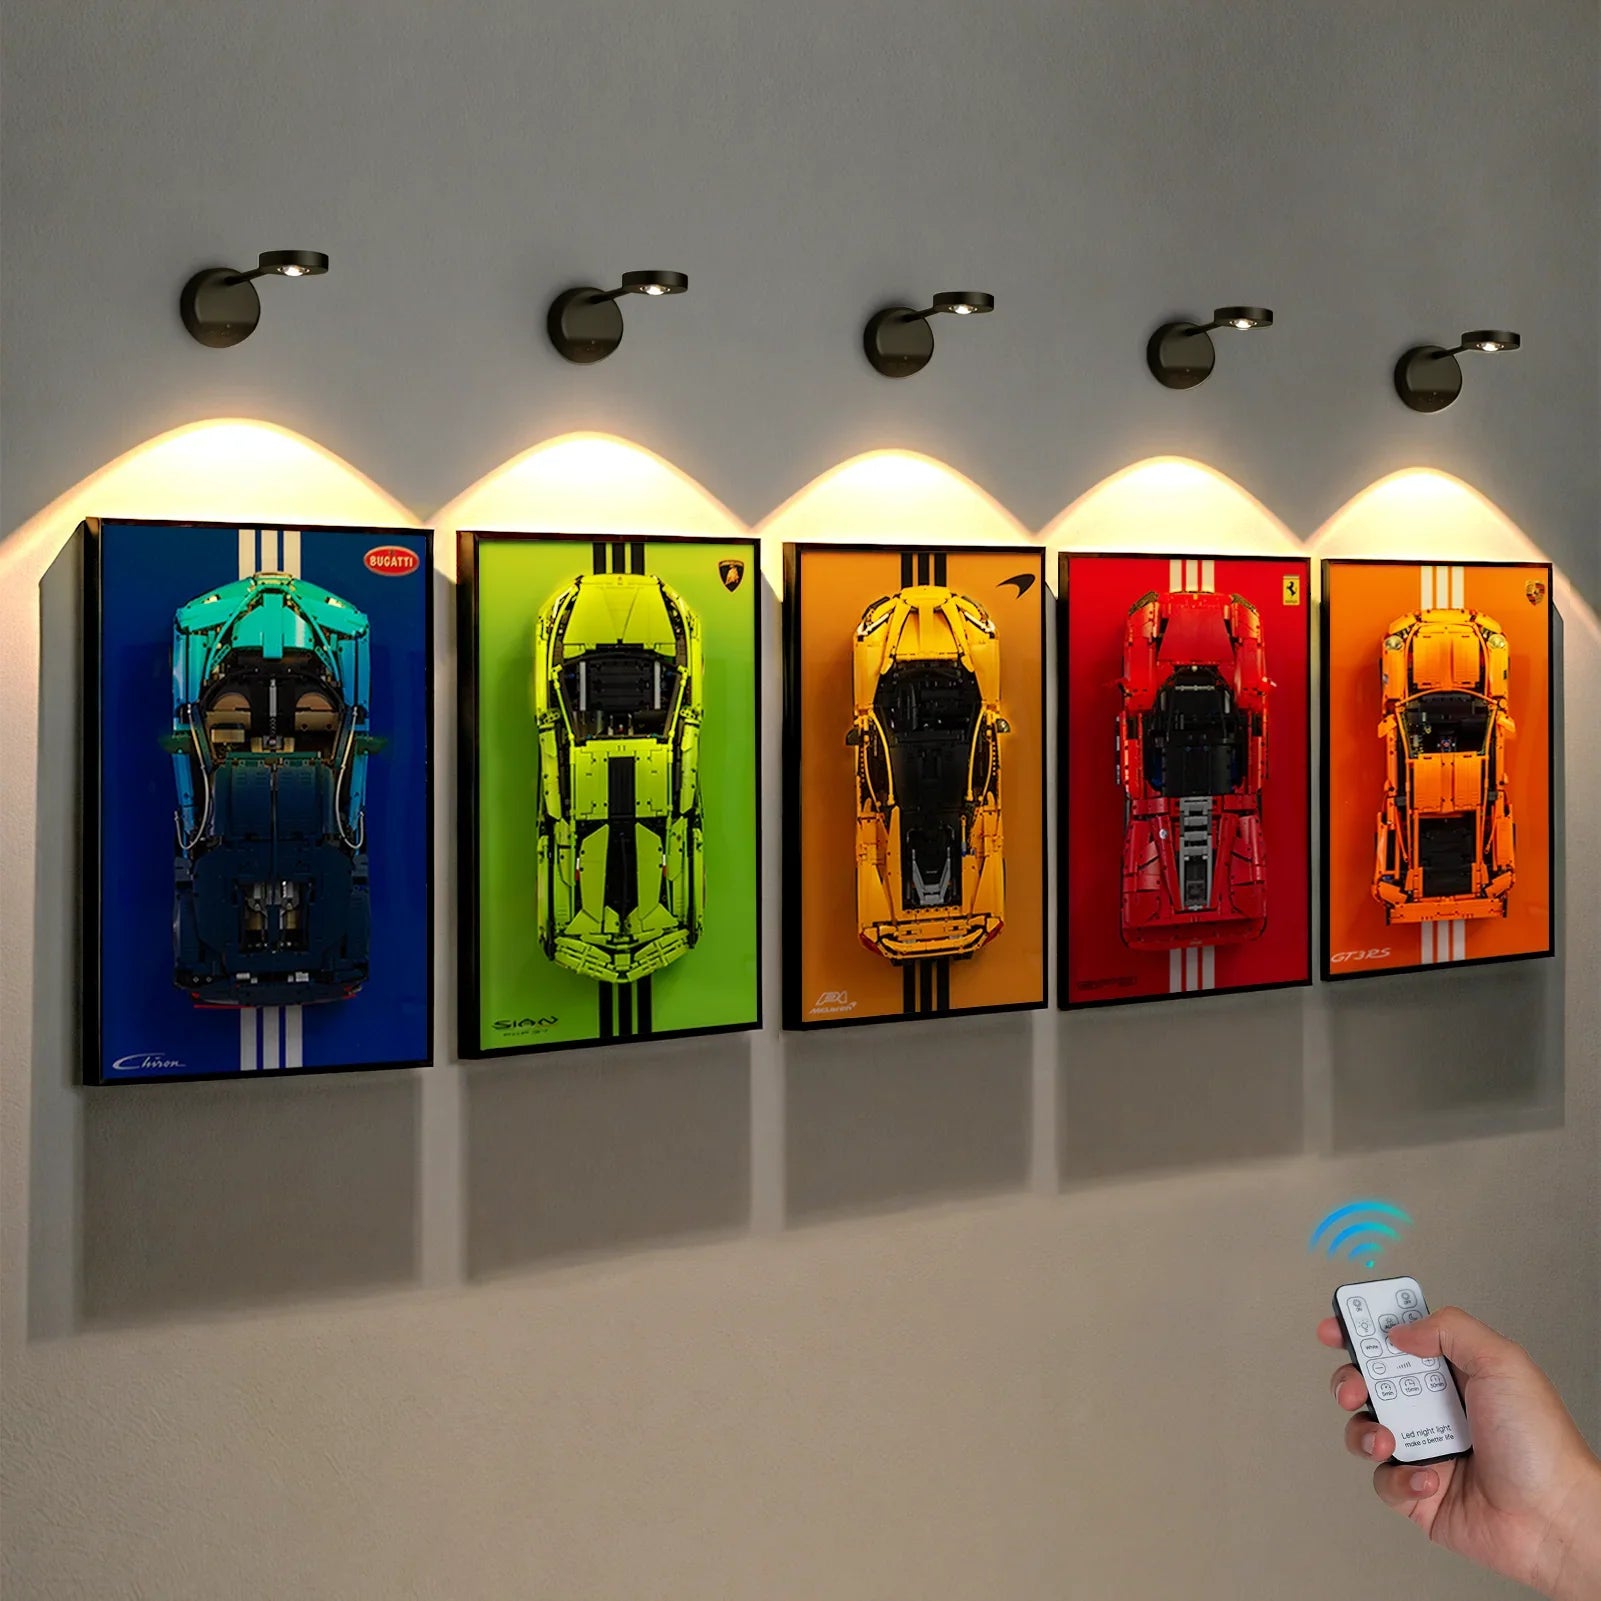
The purpose of a dedicated LEGO® Art™ display frame is not to cover every empty spot on your wall. It creates a clear visual boundary for the figures and builds a balanced relationship with the cabinet, console or sideboard underneath.
Plan the Full Frame Width First
WETCEAOM’s custom wall frame compatible with LEGO® Keith Haring 31216 measures 110 cm wide. Always use this full outer dimension for your initial wall layout shturl. not plan your space based on a single dancing figure or a cropped product photo. Those narrow measurements will lead you to underestimate how much wall space this piece requires. Confirm the exact face size of the frame version you pick before cutting a paper template for your wall.
Lay your paper template on the wall above furniture that will stay in place long-term. If you plan to move your sideboard or console soon, lock in that new furniture position first. Otherwise, you may spend time aligning your artwork perfectly, only for the whole layout to shift right after installation.

Align With Your Furniture, Then Check From the Room
Start by centering your paper template directly above the centre of your sideboard. This is a reliable baseline, not a strict rule you must follow.Once the template is taped up, step back to the main entryway of the room, and sit down in your usual viewing spot. If a tall plant, bookshelf or cabinet crowds one side of the frame, temporarily move that obstruction before adjusting your artwork position.
You can choose an off-centre layout if it fits your space better — just make the choice intentional. Nearby decor and furniture should create visual balance, rather than making the wide mosaic look misplaced or lopsided.
Add One Subtle Colour Link Between Artwork and Room
You do not need to match every bright shade from the Keith Haring build around your wall. Pick just one colour already present on the mosaic, and repeat it in one small home accessory. A throw cushion, ceramic vase or desk notebook works perfectly to tie the display to your room.Keep larger surrounding surfaces neutral and quiet while you test this pairing. If you have multiple items around the wall that repeat several of the artwork’s colours, remove them all and add them back one by one. Stop adding decor the moment the LEGO® mosaic is still the first thing your eye lands on when you walk in.
There is no fixed colour ratio you need to follow. The right amount of accent decor depends entirely on your room size and personal taste.

Make Sure the Frame Edges Stay Clear
Sit at your regular viewing spot and look directly at the four outer corners of your template. If a lampshade, plant leaf or neighbouring picture appears to touch or overlap the frame edge, shift that object or widen the gap.Even if items are physically separated, the illusion of overlap can make this wide artwork feel cramped and squeezed. Keep the perimeter of your LEGO® display open so all five figures stay easy to view.
Leave your paper template on the wall until you are happy with how the frame, furniture and nearby decorations work together. Once the layout feels balanced, select your display frame and follow its official installation instructions to mount it.
Treat All Five Figures As One Single Composition
The energy of LEGO® 31216 Dancing Figures comes from the spacing and relationship between all five coloured shapes. When designing your wall layout, think of the entire 110 cm frame as one unified artwork.A tall decor item sitting close to the orange figure, or a shelf edge brushing up against the green figure, can throw off the whole visual balance — even if the frame itself is perfectly centred on the wall.
Check the far left and far right ends separately from the central yellow figure. If your gaze keeps getting pulled away by a nearby lamp or plant, move that accessory first before repositioning the entire frame. This fixes local visual clutter without undoing your alignment with the furniture below.

Pick a Sustainable, Easy-to-Change Room Connection
Using one matching accent colour is low-risk and simple to adjust. Start with an item you already own and use daily, such as a blue cushion or green vase, placed a short distance away from the frame. Its job is to connect the mosaic to your home, not to replicate every colour from the set in miniature around the wall.For a home office display, use the same trick with practical workspace items: a matching office chair or notebook creates cohesion without taking over your work area. In a minimalist gallery hallway, you may not need any matching accessory at all. Empty, quiet wall space alone gives the artwork breathing room.
FAQ: Common Questions for LEGO® Art™ Keith Haring™ 31216 Wall Display
Should I measure the figures separately when planning the wall?
Plan from the complete frame first. The figures belong to a larger printed composition, and the outside boundary determines the wall area needed. Individual figure measurements do not replace the selected frame's overall face dimensions or mounted-depth information.
Does the art have to be centered above a sideboard?
Centering is a useful starting point, not a requirement. If a doorway or tall cabinet changes the visual balance, test an offset arrangement with paper. Keep the whole composition readable from the main entrance rather than judging only from directly beneath it.
Can I rearrange the figures on this product?
This frame is designed for the standard layout of the LEGO® Art™ Keith Haring™ 31216 set. Reconfiguring the figures may not fit the display frame properly.
Is RGB lighting necessary for the colors to stand out?
No. The unlit version can be evaluated under ordinary room lighting. If choosing an RGB USB option, treat that as an additional lighting decision and plan its cable route. Do not assume a light kit is included with the unlit frame.
How do I know whether nearby pictures are too close?
Look from your usual seat and from the doorway. If adjacent picture edges seem to touch or interrupt the wide frame, create more visual separation. There is no fixed gap that works for every wall, furniture arrangement, and viewing distance.
What should I do before committing to a gallery wall?
Place the full-size paper outline first and temporarily remove nearby pictures. Add those pictures back one at a time. Keep only the arrangement in which all five figures remain easy to recognize and the complete frame has a clear boundary.

