
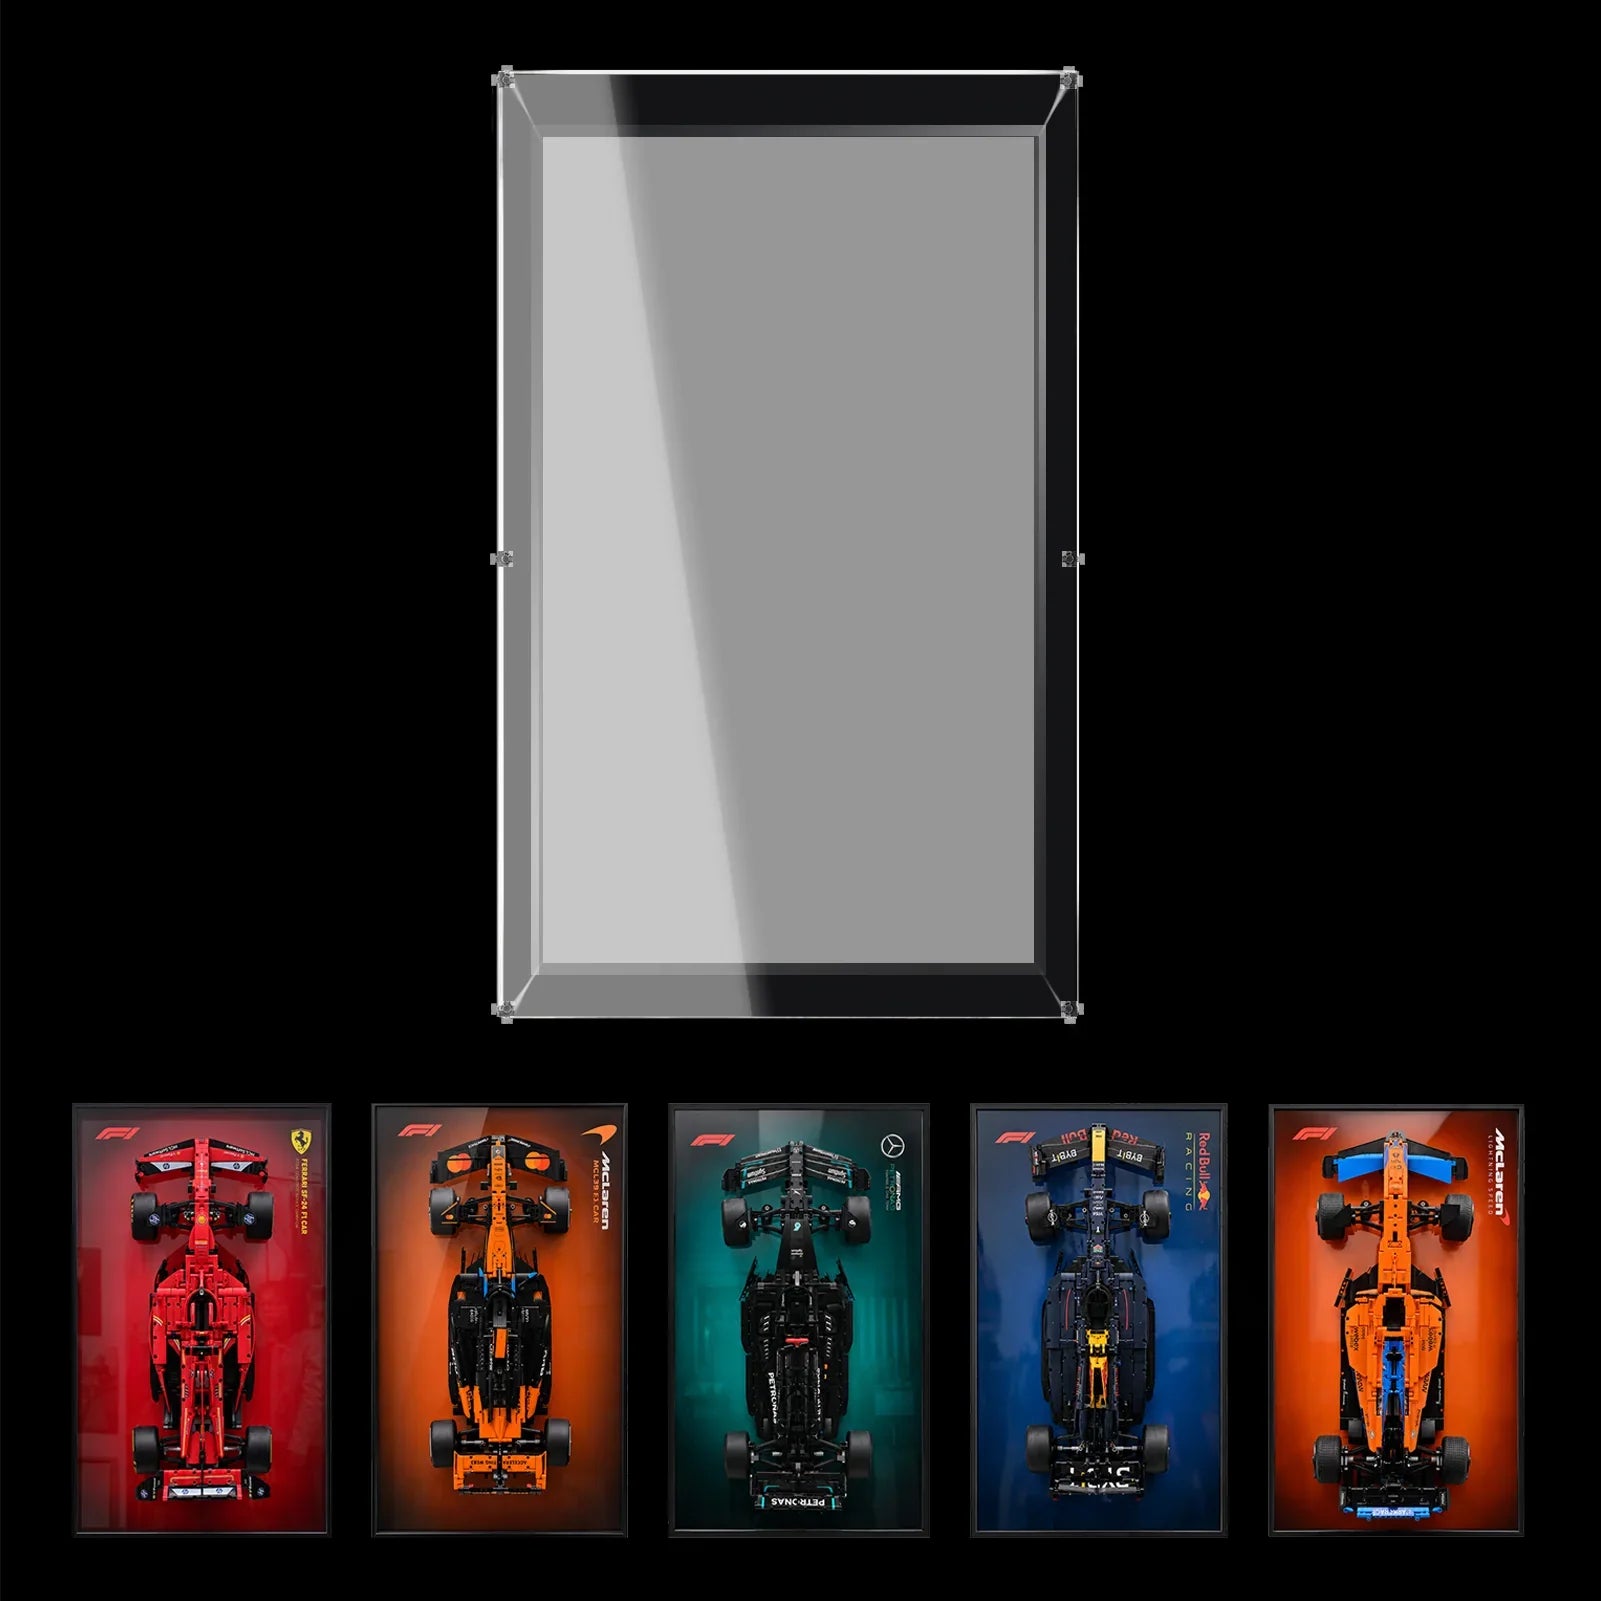

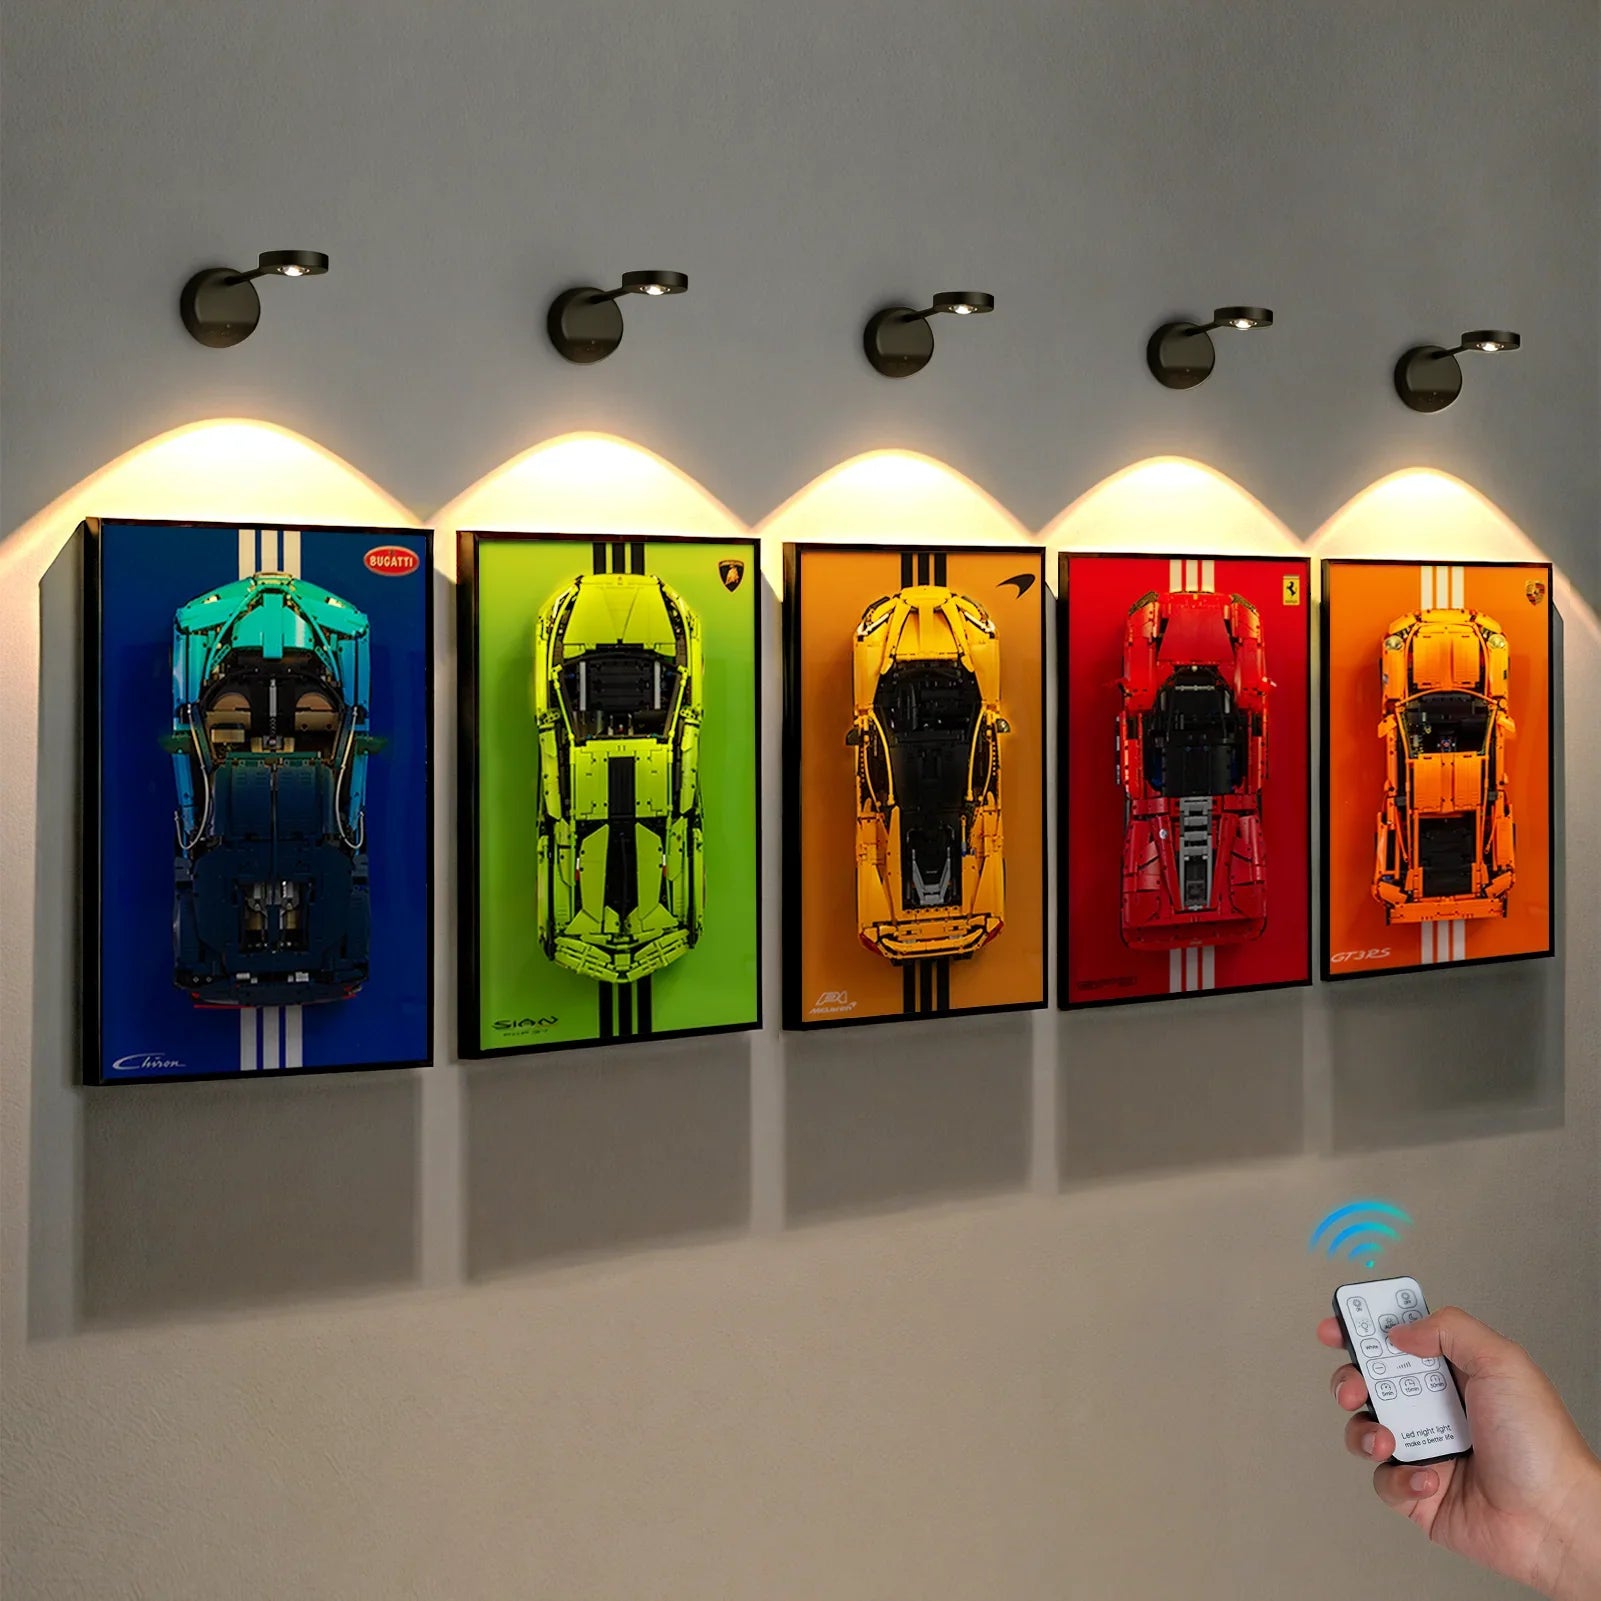


Choosing the best LEGO Star Wars spacecraft display frame starts with checking three things: the full model silhouette, the frame footprint, and the viewing space around your wall. A build may fit by width but still look crowded when wings, engines, antennas, or a support sit too close to the frame edge. Measure your completed model first, then pick the WETCEAOM display format that matches your wall and the way you actually enjoy your collection.

Start with the spacecraft silhouette
Place your completed spacecraft on a flat temporary surface, locked in the exact pose you want to keep long-term. Step back and look at it from the doorway, your usual seated chair, and a standing position — the same spots you’ll view it from every day. Record four measurements: the widest point, highest point, front-to-back depth, and any element that sticks out past the main fuselage.
For a Star Wars build, those extended details may include wings, stabilizers, engine blocks, cockpit sections, antennas, support stands, open hatches, or alternate display poses. Keep these model measurements separate from the frame’s listed dimensions. The outside size of a wall frame tells you how much wall space the product takes up — it does not automatically confirm how much room you have for the model itself.
If your spacecraft uses a custom stand, modified wings, or an angled display pose, compare your final measurements against the current product listing. For unusual or heavily modified builds, send photos and notes to our support team at info@wetceaom.com before ordering, so we can confirm the right fit.
Choose the wall before choosing the frame
Plan your wall display around the spot where you’ll see the build every day, not just the empty wall space you happen to have. In a home office, a side wall keeps the model visible without taking valuable desk real estate — just avoid hanging it directly behind a monitor, where screen glare will reflect across the acrylic.

In a dedicated collection room, leave enough empty wall space around the frame so the spacecraft silhouette stays separate from neighboring builds. Large wings and engine sections are far easier to appreciate when another vehicle doesn’t overlap their outline. In a build studio, keep the display away from active building tables, loose bricks, and cutting tools. In a man cave or home theater, steer clear of door swings, coat hooks, bags, and other high-traffic spots where someone could bump a wingtip.

Before drilling, mark the frame footprint on the wall with low-tack painter’s tape. Test the position from your doorway, desk seat, and standing spot. If the model disappears behind furniture, a shelf edge, or a door frame, shift the position before you install anything.
Match the display format to your collection goal
WETCEAOM offers two core display formats for Star Wars builds, and they solve different collection problems. Wall-mounted frames turn the model into wall art and free up shelf space, while enclosed acrylic cases seal builds on a shelf against dust. Pick the format that matches what you care about most:
| Your goal | Best format |
|---|---|
| Free up desk/shelf space, build a curated gallery wall | Wall-mounted display frame |
| Enclose a shelf build, prioritize dust protection | Acrylic display case |
| Build a themed wall of multiple vehicles | Matching wall frame series |
Browse our full LEGO Star Wars wall display frame collection to see current wall-mounted options. If enclosed shelf protection is your priority, compare our large LEGO model acrylic showcase cases to find the right size for your build.

Build one clear spacecraft composition
Start with one focal model — don’t fill the wall just because you have empty space. A single spacecraft needs enough breathing room for wings, engines, and cockpit details to stay readable from across the room. If you plan to add more Star Wars builds later, reserve surrounding wall space before you hang the first frame, so you can line the rest up evenly as your collection grows.

Pick one simple organizing rule for the wall: group builds by movie trilogy, by vehicle type, or align all nose angles to match a shared “flight direction.” If two dark-colored spacecraft sit right next to each other, their silhouettes will blur together — leave a small calm gap between frames, and use a subtle different background to separate each build.
Check lighting and background before you finish
Dark Star Wars models can disappear against dark furniture or a black wall. Clear acrylic can also reflect windows, monitors, and overhead lamps, depending on how your room is lit. Test the display under the exact lighting you use every night — if the cockpit or wing details become hard to see, adjust the frame height or nearby furniture before adding posters and memorabilia.

Keep labels, posters, and loose memorabilia outside the main frame area. The frame should support the spacecraft, not compete with it for attention.
Plan for easy maintenance
A frame may fit perfectly on the wall, but still be hard to clean or access. Leave enough space around the frame to reach the mounting points and remove the model following the product instructions. Keep a soft padded surface directly below the frame, so you have a safe spot to set the build down when cleaning.
When you move or adjust the model, support the strongest structural points — never lift a spacecraft by an antenna, wingtip, cockpit canopy, or narrow engine section. Dust the frame with a soft microfiber cloth, and never spray cleaner directly onto the acrylic, printed background, or the model itself.
FAQ
Do I need to take apart my LEGO spacecraft to mount it in the wall frame?
No disassembly required. The frame uses a hidden support bracket that slips right under the completed fuselage — you keep your full finished build totally intact, no pulling wings, engines, or antennas off just to hang it on the wall. That’s the whole point of the floating mount: your completed model slides right in, ready to display.
Will a wall frame hold a heavy UCS build like a Millennium Falcon without sagging?
Every frame is built to support the full weight of its matching official LEGO spacecraft, and all wall-mount hardware (wall anchors, screws, level guide) is included for standard drywall. For extra-large builds like the 75252 Imperial Star Destroyer, just double-check the weight rating listed on the specific product page — we note every frame’s supported load right in the listing details.
Can I swap my models between frames later if I rearrange my collection wall?
Absolutely. The brackets use a simple friction-fit, no permanent adhesive or permanent modifications to your LEGO build. You can lift models out and swap them between matching frames anytime you rework your wall layout, without damaging the ship or the frame.
How often do I have to dust an open wall frame, compared to an acrylic display case?
Since the frame is open-backed for that floating, in-space look, you’ll want to dust it lightly every 2–3 weeks with a soft microfiber cloth. It doesn’t create a fully sealed dust barrier like a closed acrylic shelf case, but it’s way easier to wipe down than a shelf build tucked behind books and cables.
Will my ship’s wings, antennas, or engine pods press against the wall after mounting?
No. The frame sits 3cm out from the wall, so even extended parts like spread wings, antenna arrays, or custom stands have full clearance — nothing touches the drywall, and every detail stays fully visible from your regular viewing spot.
I added custom decals or a modified stand to my build — will it still fit?
Most small mods work fine. If you’ve added painted parts, custom livery, or an upgraded display stand, just drop a note in your order with a quick photo and your total finished dimensions. We’ll double-check the internal clearance before your frame ships out, so you don’t end up with a tight fit after waiting for delivery.
Final Thoughts
The best LEGO Star Wars display frame doesn’t just hold your model on the wall — it shows off the build the way you wanted it to look when you bought the set. Measure the full silhouette, plan your wall sightlines, pick the right format for your space, and leave room for easy cleaning. Take it slow, build out the wall one model at a time, and your spacecraft collection will look like a curated gallery, not a pile of boxes on a shelf.

