



You know the differences between your Batman minifigures: the shape of a cowl, a change in the chest emblem, a different belt print, a cape that gives one version a completely different silhouette. Put them too close together, though, and those differences disappear into a line of black and gray.
A good LEGO® Batman minifigure display case should help you see why each figure belongs in the collection. The goal is a display you can read, with related versions together and enough space for their defining details.
WETCEAOM’s six-tier acrylic case provides a setting for that approach. Here is a practical way to plan your collection around it: sort the figures before filling the tiers, check the widest poses first, and leave room within each group for what comes next.
Build the display around comparison
Start with a simple question: what would you like to compare when you look through the front panel? If you mainly collect Batman variants, the answer might be different suits, screen interpretations or costume designs. A viewer should be able to follow those changes without searching from one end of the case to the other.
Choose one sorting rule for the main display. For example, group figures by the screen or story world they represent, then place similar suit designs next to each other within each group. If your collection focuses on costume variants instead, organize by suit style throughout. Switching between release year, color and rarity halfway across a tier makes the arrangement harder to follow.
You do not need a complete Batman archive to begin. A small group of six related figures can make a clear comparison. Keep those six together, give them a defined section, and add the next related figure there when it arrives.
Know the case dimensions before planning the rows
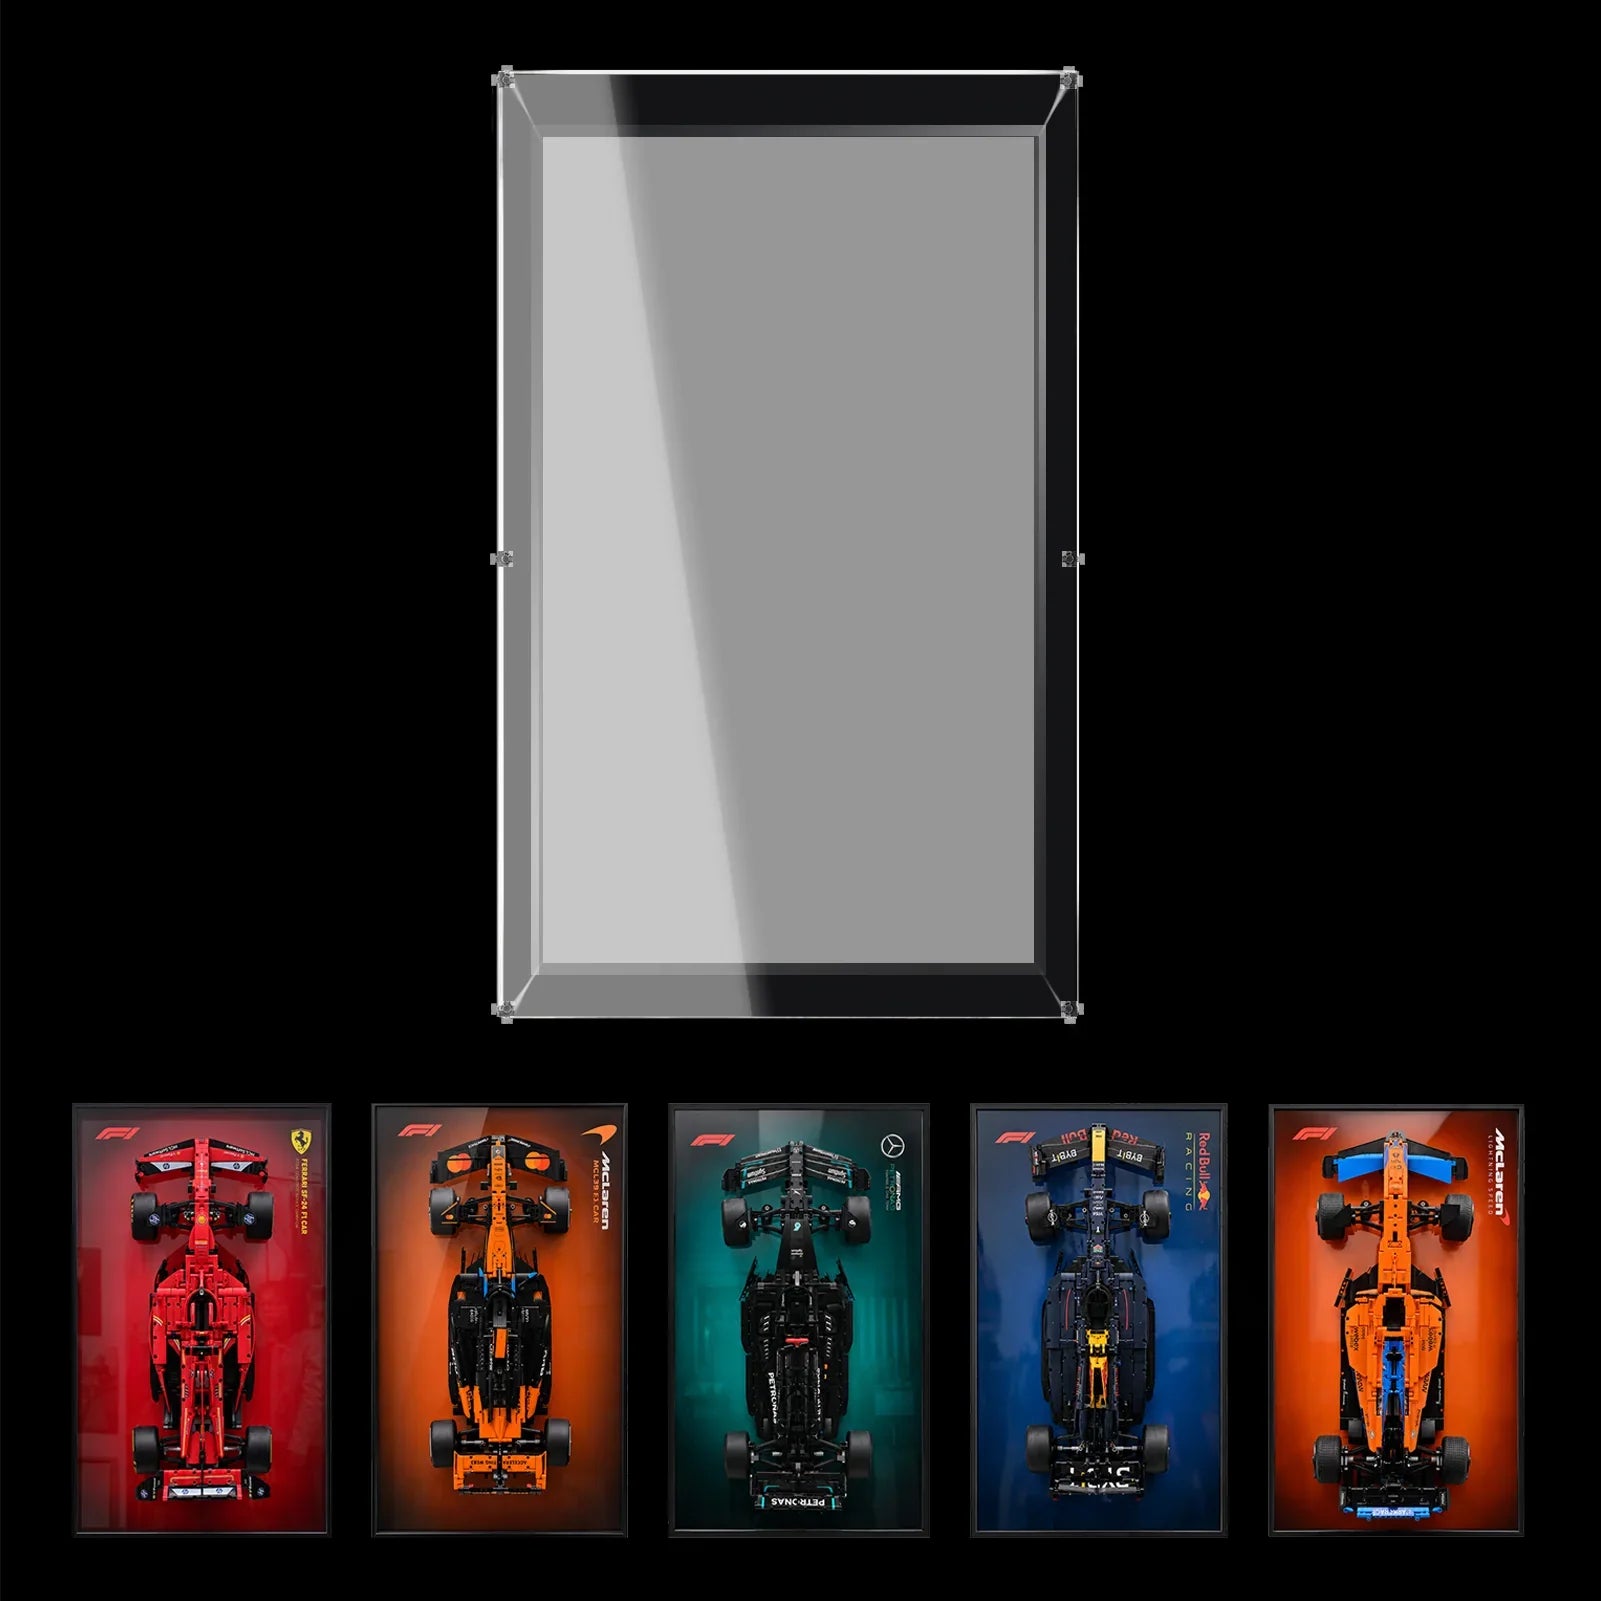
The product listing specifies six tiers, a capacity of up to 115 standard minifigures, and 3 mm transparent acrylic. Its dimension graphic shows 76 cm across × 48 cm high × 6.5 cm deep. Classic and Custom Background options are listed.
These are the published case measurements. They do not tell you the usable height above every shelf, the depth behind an extended cape, or the available width beside the central emblem. Those internal clearances need to be checked against the figures and configuration you want to display.
For a room-planning example, a 76 cm-wide case centered within a clear 100 cm-wide display area leaves 12 cm on either side: (100 − 76) ÷ 2 = 12. That gives you a useful first impression of the horizontal footprint. It does not establish whether the supporting surface or wall installation is suitable.
Make a paper rectangle measuring 76 × 48 cm and place it where you intend to view the collection. Check it from your normal seated position and from the room entrance. A location that fits the outline may still be too high to appreciate small face and torso details comfortably.
Before choosing the final position, confirm the intended installation method and access requirements with WETCEAOM. Allow for opening or removing the relevant panel according to the instructions; the listed 6.5 cm depth is not an access-clearance recommendation.
Understand what “up to 115” means for your collection
A maximum capacity is useful when comparing cases, but it is not a layout plan. Your actual arrangement depends on the figures you own and the way you want to show them.
A Batman holding a wide accessory needs a different footprint from the same figure standing with empty hands. An extended cape can occupy space beside or behind the body. A tall headpiece may become the deciding measurement even when the feet fit comfortably on a shelf.
The product images also show a central Batman emblem occupying part of the display. That means the visible shelf sections are not all equivalent. Dividing 115 by six and assigning the same number of figures to every tier would ignore the layout shown in the listing.
Instead, think in groups and available sections. Put a short family of related variants in a shorter section. Use a longer run for a larger group. Let the actual clear space determine the arrangement, rather than trying to achieve an identical count on every level.
Step 1: make a collection map before loading the case
Arrange the figures on a clean work surface first. This is easier than repeatedly reaching through a partially filled display while deciding where each version belongs.
- Separate the main groups. Use your chosen rule consistently—screen interpretation, suit family or another category that fits the collection.
- Identify the space-sensitive figures. Put wide capes, large handheld pieces and tall headgear together temporarily so you can check them first.
- Choose an order within each group. For example, place comparable torso designs next to each other and keep alternate versions of the same suit adjacent.
- List the next likely additions. Reserve room in the relevant groups instead of leaving all expansion space at one end.
A simple phone note is enough: group name, figures currently owned, and one or two additions you are looking for. If you track individual figure identifiers, record them there rather than attaching labels to the acrylic or modifying the product.
For a mixed Gotham collection, you can use the same method with character groups. Keep Batman variants together, give allies a neighboring section, and group villains in a deliberate order. The organizing principle remains the same: each section should make a relationship visible.
Step 2: test the largest poses first
Begin with the figures most likely to create a spacing problem. Measure each one in the pose you actually want to display, including its stand or base if you plan to use one.
| Measurement | What to include | What to check against the case |
|---|---|---|
| Height | Base, feet, headgear and raised accessories | Clearance above the chosen tier |
| Width | Hands, weapons, wings and spread capes | Neighboring figures and the central display area |
| Depth | Front accessory tips, body and cape behind it | Usable distance between the front and rear boundaries |
As an illustrative example, a posed figure measuring 5.8 cm from the back of its cape to the tip of its accessory should not automatically be considered suitable because the case is listed as 6.5 cm deep. The case measurement and the usable interior are different quantities. Ask for the relevant internal clearance, then check the actual figure.
If a cape touches the enclosure or covers the next figure, increase the space or choose another section. Do not flatten the cape against a panel simply to retain a preferred headcount. Likewise, avoid a pose in which an accessory hides the detail you were trying to display on its neighbor.
Step 3: plan six tiers as connected sections
The central emblem creates a natural focal point. Work around it rather than treating every horizontal level as a continuous, identical shelf.
Use the following worksheet as a starting point. It describes organizing jobs for the levels, not a fixed fitting arrangement or a promise that a particular number of figures will fit.
| Level, top to bottom | Suggested organizing job | Layout question |
|---|---|---|
| 1 | A coherent run of closely related Batman variants | Can you distinguish the changes between neighboring suits? |
| 2 | Smaller related groups beside the central area | Does each visible section have a clear beginning and end? |
| 3 | A short group on each usable side section | Are accessories clear of the emblem and adjacent figures? |
| 4 | Continue the same grouping logic | Are matching variants still easy to locate? |
| 5 | A larger group that needs a longer sequence | Can new additions join without moving every figure? |
| 6 | The final group in your chosen order | Can you see the faces and torso prints from your usual position? |
Suppose you own 72 figures. Your first task is not to divide them into six groups of 12. Count the figures in each meaningful family, then match those groups to the usable sections. A family of five may suit a short section; a family of 16 may need to continue onto another level, depending on measured space and poses.
When a group must continue, keep the reading direction consistent. For example, finish the upper section from left to right and continue in the next appropriate section below. Photograph the arrangement once it works so that a figure removed for photography can return to the same place.
Step 4: leave expansion room where you will use it
Empty space can have a purpose. A small gap at the end of a suit family gives you somewhere to place the next related variant without moving an entire tier.
Imagine that you have eight versions in one group and expect to add two more. Make a paper note for ten planned positions, then test whether that group fits at the spacing your figures require. If it does not, reduce the group’s scope or use a different section. The planning count is a tool for organizing, not proof of physical capacity.
Keep occasional duplicates or figures awaiting identification outside the permanent sequence until you decide where they belong. This prevents the display from gradually turning into a holding area where new arrivals fill whichever gap happens to be closest.
Revisit the arrangement when a group grows, rather than after every individual purchase. Small, deliberate adjustments preserve the comparison you created in the first place.
Step 5: check visibility through the closed enclosure
Once the figures are arranged and the enclosure is closed according to its instructions, look at the collection from the position where you will normally enjoy it. Check the corners as well as the center.
Can you see each face? Can you distinguish the chest emblems? Are foreground accessories blocking neighboring figures? Does a reflection from a window or lamp obscure a whole section?
Adjust the viewing position or nearby light where practical. Clear acrylic still reflects its surroundings, so a product photograph cannot predict every room. The case uses a transparent enclosure; that does not mean every figure will be equally visible under every lighting condition.
If choosing a custom background, assess it at the scale of the entire display. Busy artwork directly behind small faces can compete with the details. A calmer area behind the rows can help the figures remain the subject, while a stronger central graphic provides the focal point. Confirm the artwork arrangement before production.
Frequently asked questions
How many minifigures does this Batman display case hold?
The listing states up to 115 standard minifigures. Treat that as a maximum, not a guaranteed count for every collection. Wide capes, accessories, poses and the space used by a central display affect your final arrangement.
What are the dimensions?
The published size is 76 cm across, 48 cm high and 6.5 cm deep. Check usable tier height and internal depth separately, especially for figures with tall headgear or accessories extending in front of or behind the body.
Are the minifigures and Batman logo included?
No. The product listing states that the LEGO models shown are for demonstration and are not included. The case is a display accessory for a collection you supply separately.
Can I display LEGO Batman Logo 76330 inside it?
WETCEAOM lists compatibility with 76330. However, LEGO lists the complete model at over 23 cm high, 36 cm wide and 9 cm deep, while the case is listed at 6.5 cm deep. Confirm the intended configuration and any required changes with WETCEAOM before planning around the complete model.
Does the enclosure protect the figures from dust?
It is marketed as a dust-protective acrylic enclosure with screw-connected construction. Keep it assembled and closed as instructed. Do not treat that description as a claim of airtight sealing, UV filtration or complete elimination of maintenance.
Can I use it for other LEGO minifigure themes?
The listing describes compatibility with standard LEGO minifigures beyond Batman. Check the complete figure and accessories against the internal clearances. Oversized characters, wide wings and unusual bases should be assessed individually rather than assumed to fit.
A collection you can enjoy one figure at a time
The most satisfying arrangement makes the differences visible: a favorite cowl, a particular suit print, or the accessory that explains why you wanted that version. Grouping related figures, testing the widest poses and reserving useful expansion space help those details remain readable as the collection grows.
Explore the WETCEAOM six-tier acrylic Batman minifigure display case to compare its available options. Bring your collection count, the measurements of your largest posed figures and your preferred layout to the decision. Those details will help you choose a display that works for the collection you actually own.

